9/06/14-fragment
my photos set fragemnt
SET 1

13/06/14-fragment
SET 2
I decided to do add fragment now and i think i want to do that now because, it looks better and interesting


WWW:
I did quite a few photos and and i started of with opening but i felt like i want to do Fragment now.
EBI:
I need to add bit more photos to make it more interesting.
16/06/14-MY Fragment pictures
SET 3
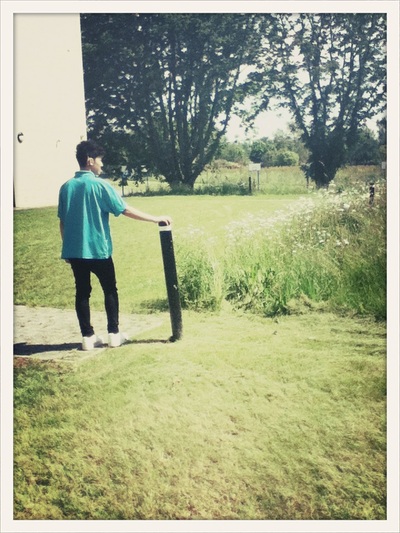
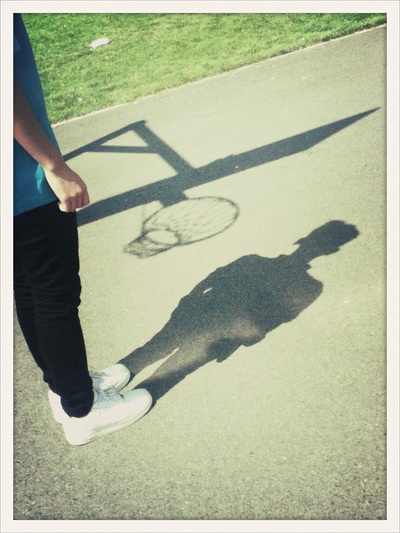
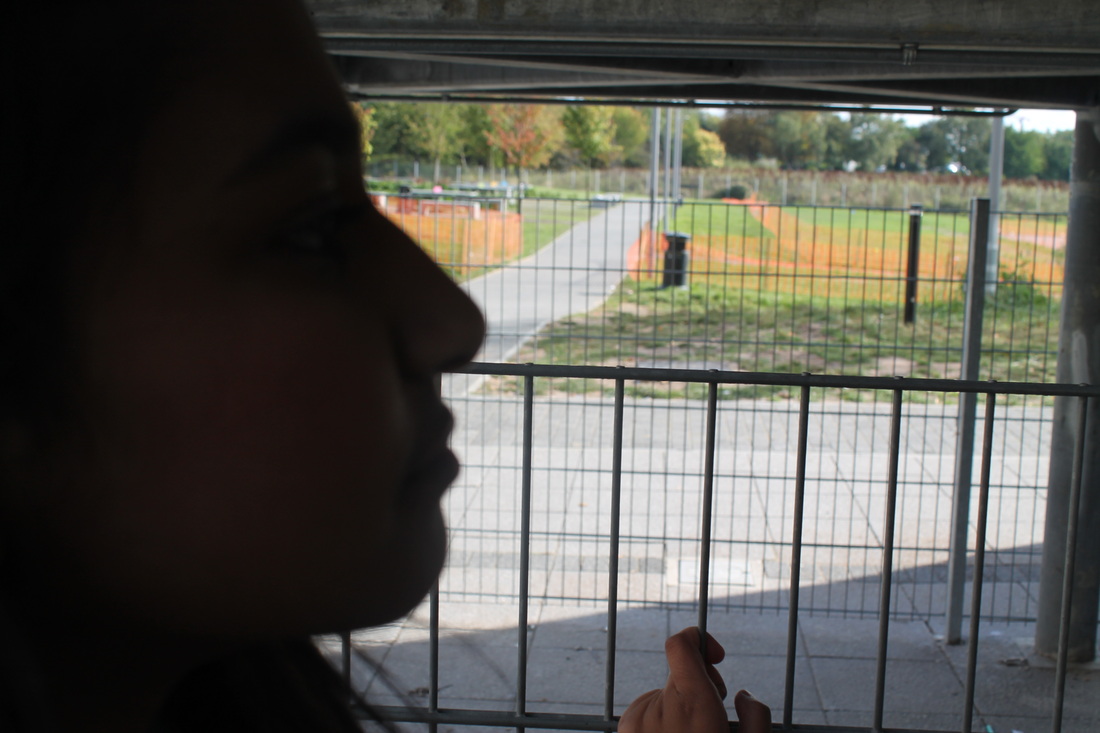
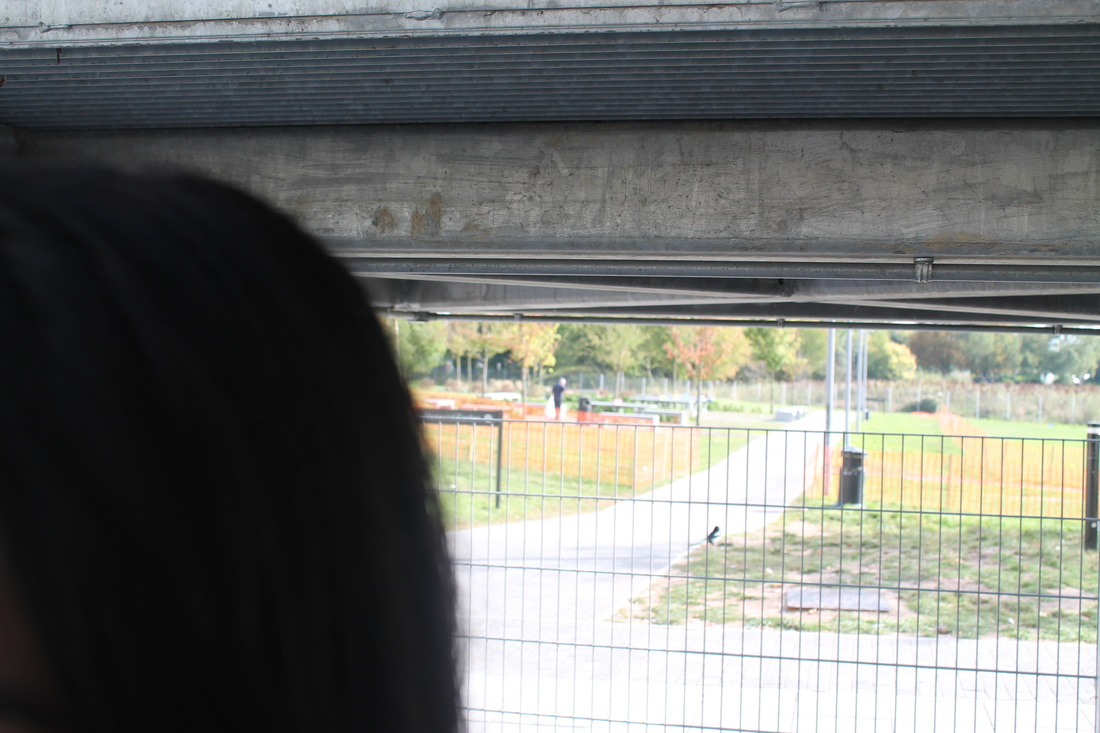
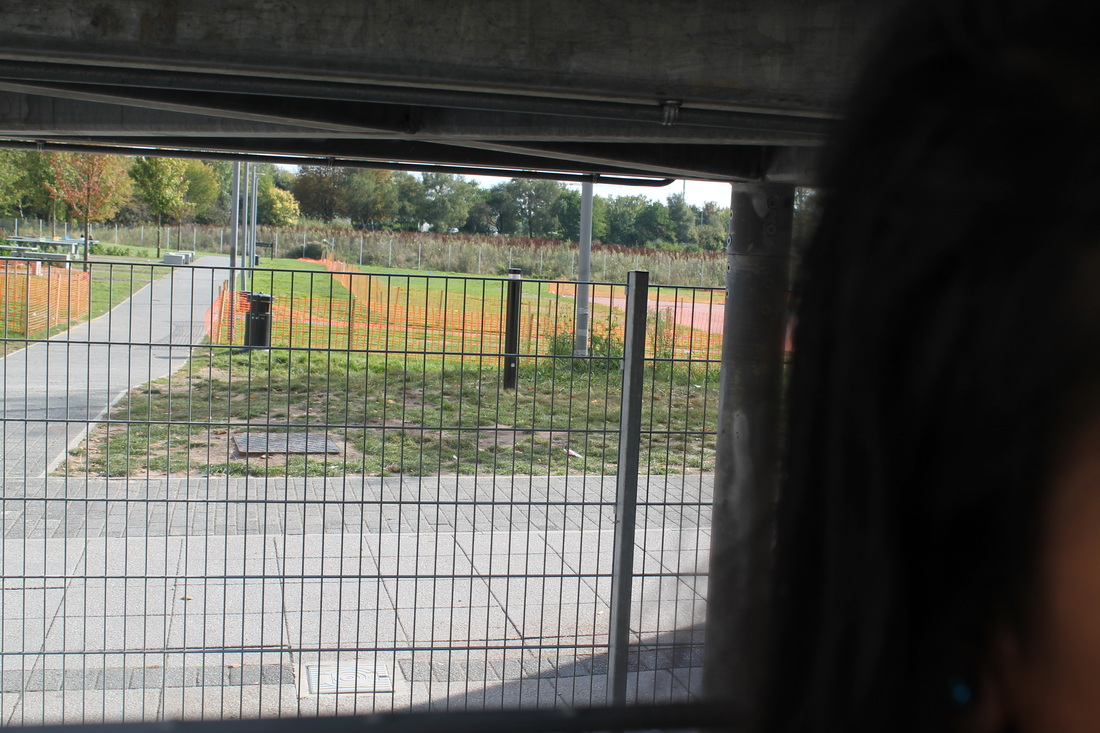
WWW:You can see the shadow and i tried to do this as fragment but i didn't work, so i tried to do opening with the third picture with the gates opening.
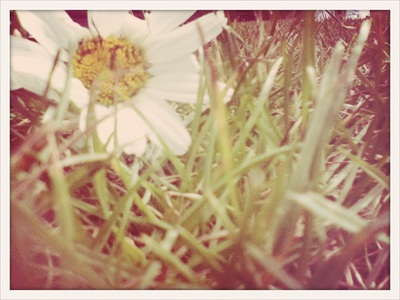
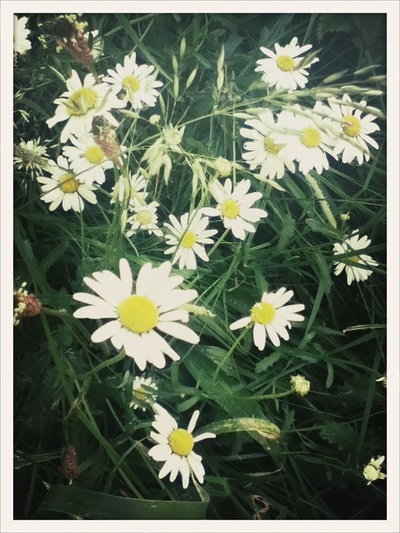
I did this picture in the garden were the flowers was. EBI:i should try and take better images and more pictures.
i should try to make more opening pictures like through the windows and doors |
|
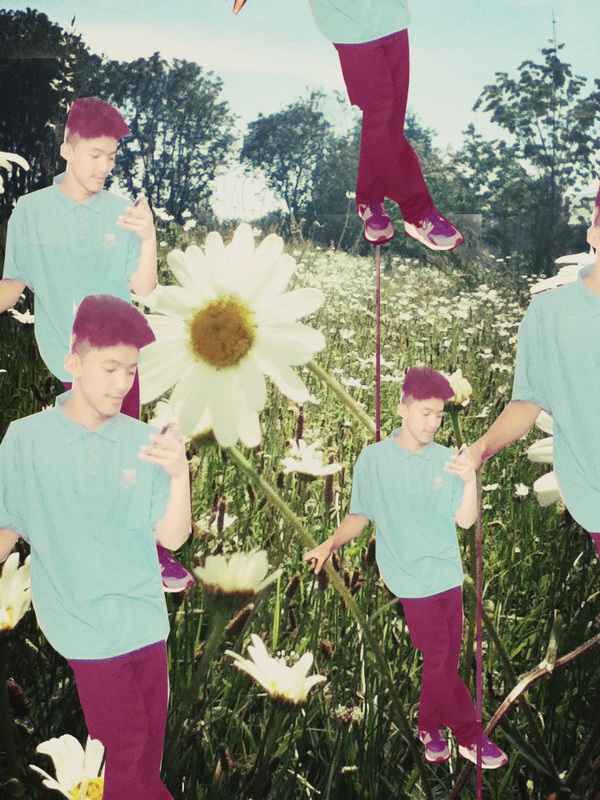
Fragment
EvaluationWWW:
i think that this photo is really good and to me if i didn't make it it looked like the same person has been printed out so many times and then sticked onto the flower photo but really I created it in photoshop.
EBI:I should add different person to this picture and it would of made it look more interesting. But overall i think that this photo is really good.
|
|
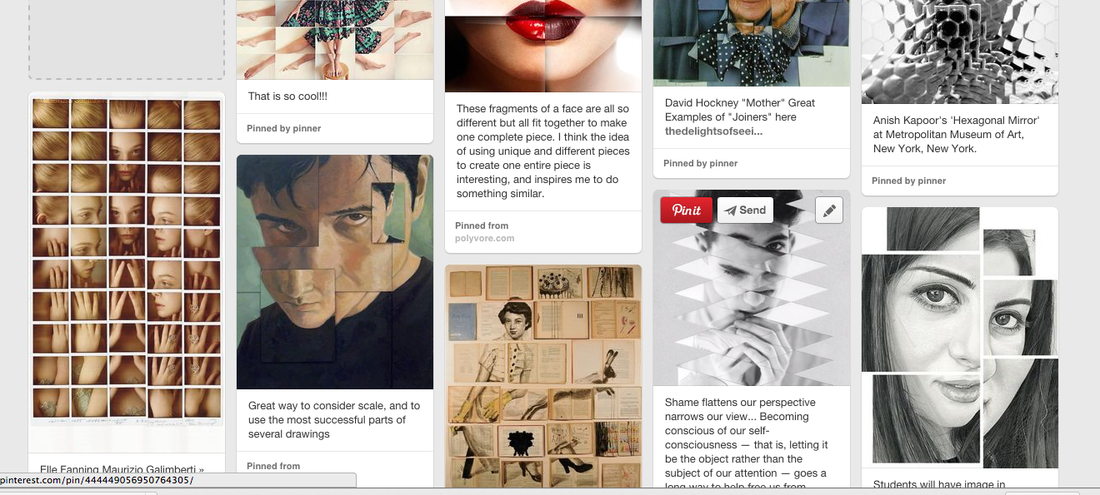
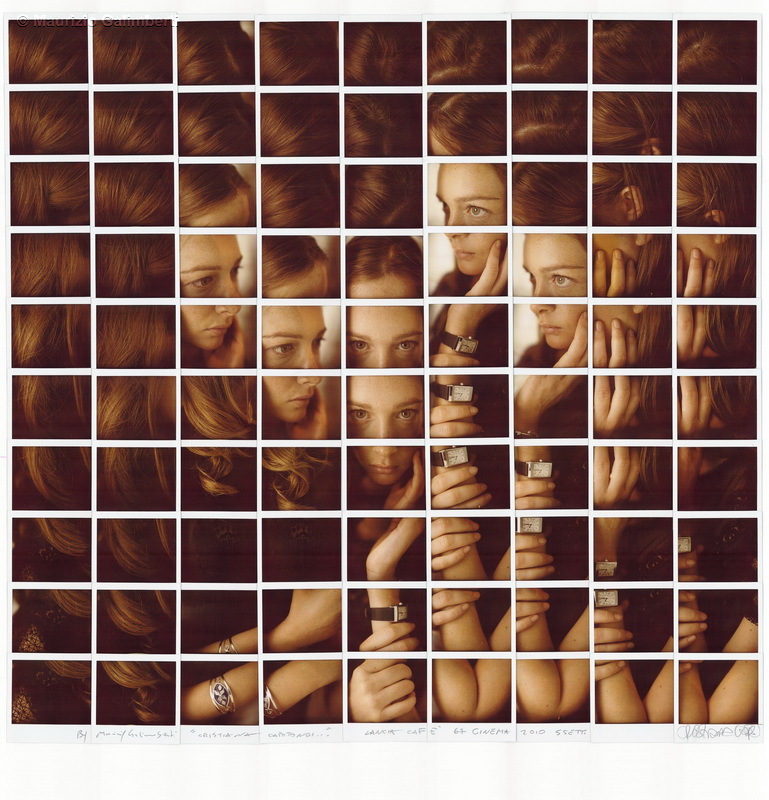
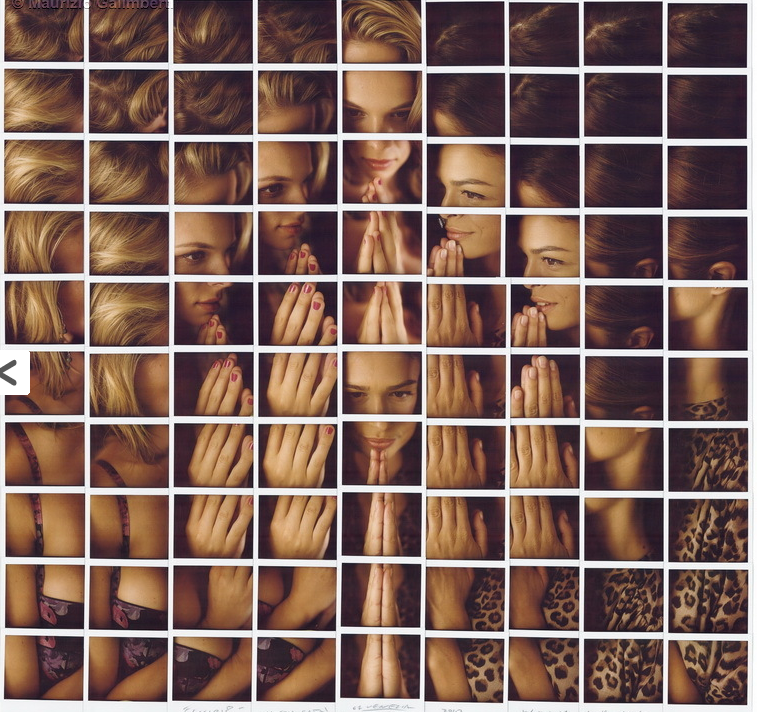
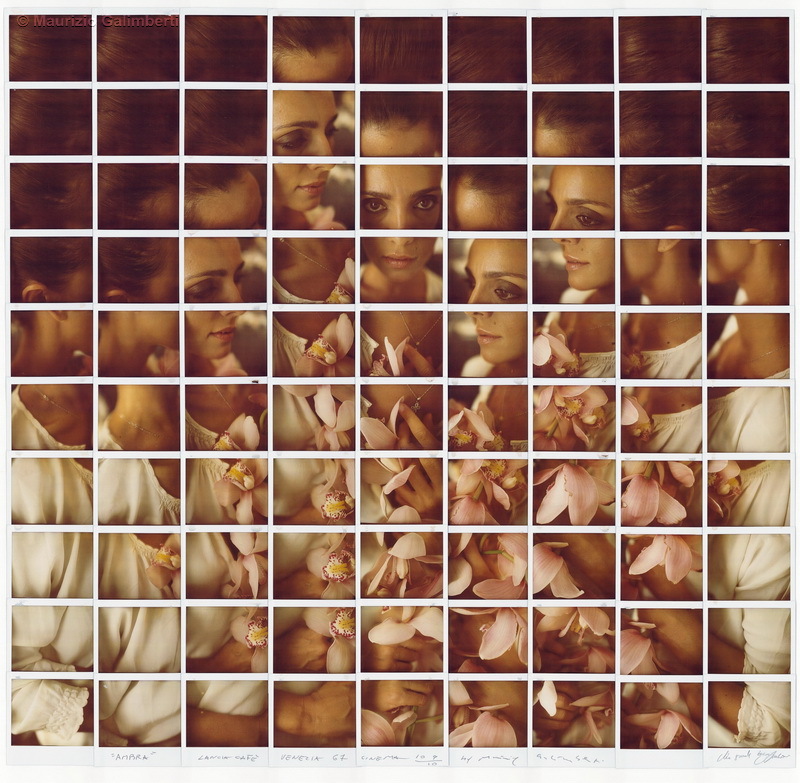
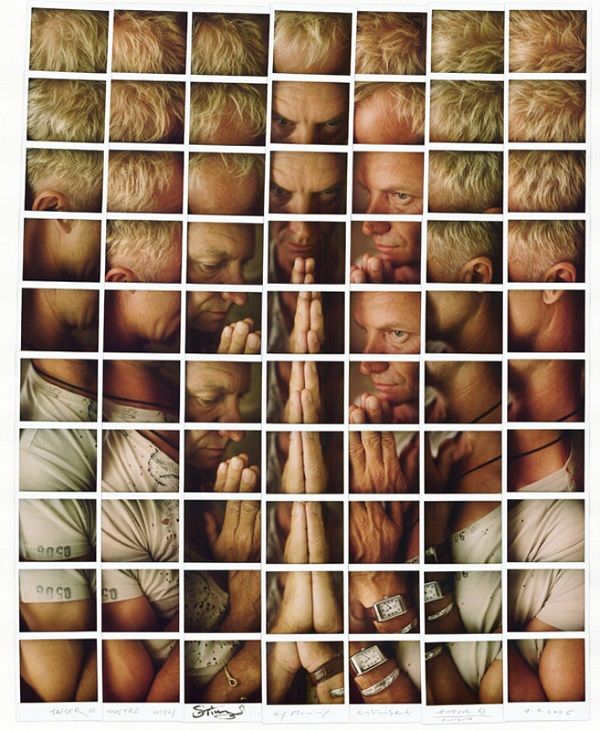
Maurizio Galimberti
|
I found this picture on pinteres, It looks like the same person but been edited and cropped.
the photographer made it look like she has long hair but really it has been edited, the colour is brown and looks plain but also it has caught my eyes, I think maybe it could of been different parts and in an app it has been put together, this was the first pictrue taht i saw made form Maurizio Galimberti.
I think Maurizio Galimberti has really good picture and the way he creates his picture and put them together its just really caught my eyes and they are really amazing.
|
|

Displaying my work
|
This is how i want to display my work by the end of the course.
I want to make a collage by using a camera and taking lots of different pictures of a person. I intend my picture to be 10 by 10- 10 rows and 10 column. I want to take smaller photos but torso(head to stomach). i will print my picture of the collage and stick it to the mountain board. for my display. How i will do this is take a photo of a person then I will upload it to photoshop and edit it there. |
images for my collage
|
|
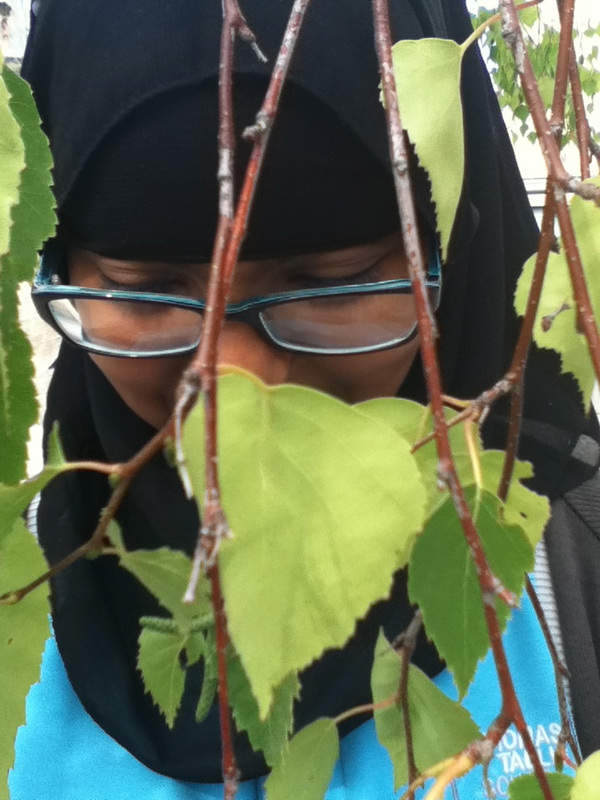
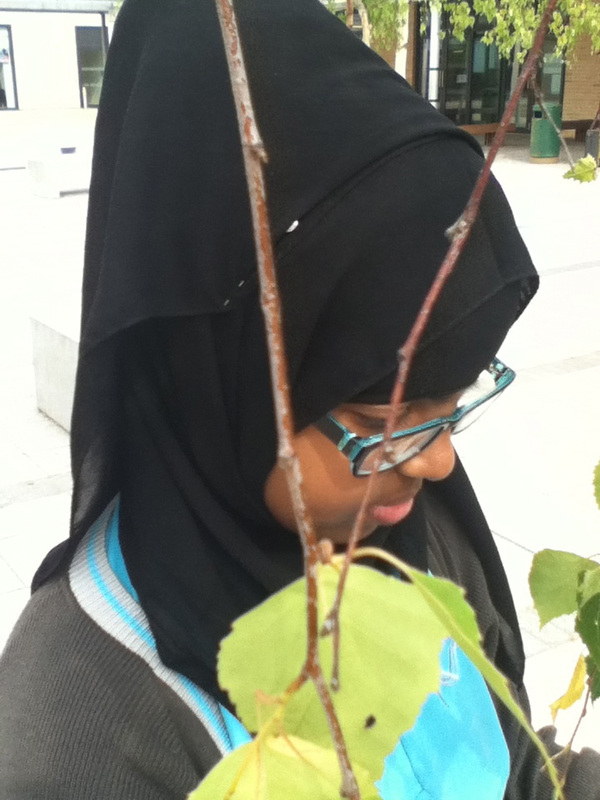
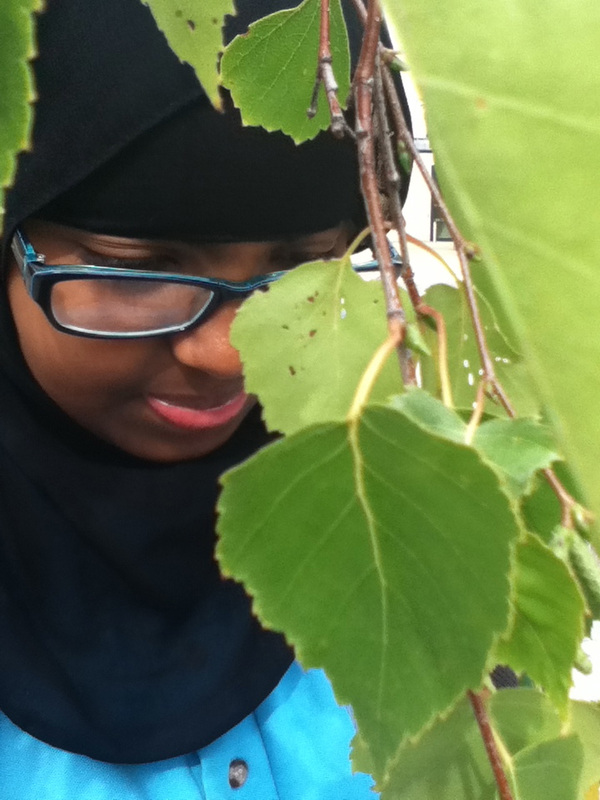
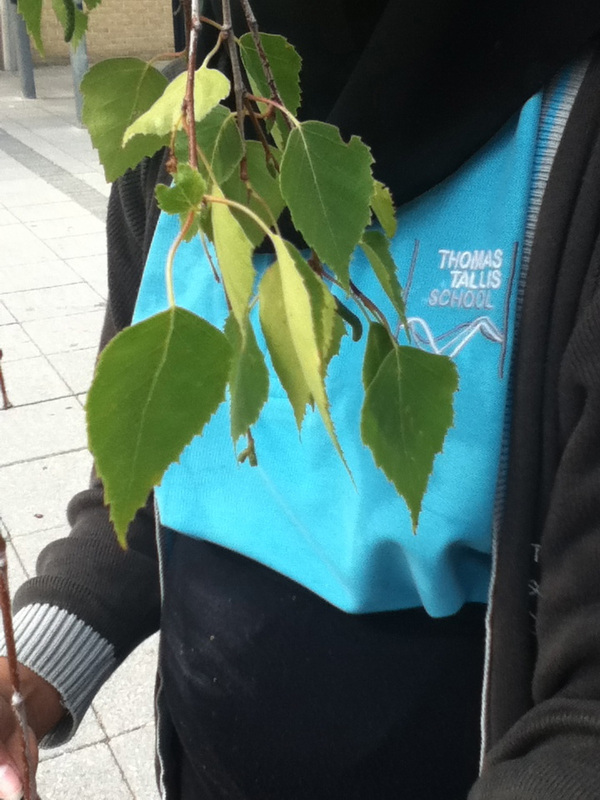
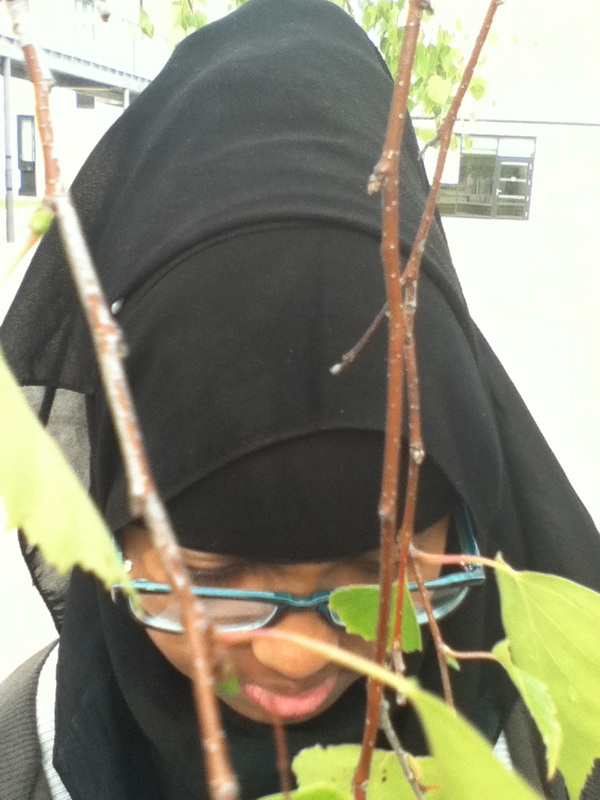
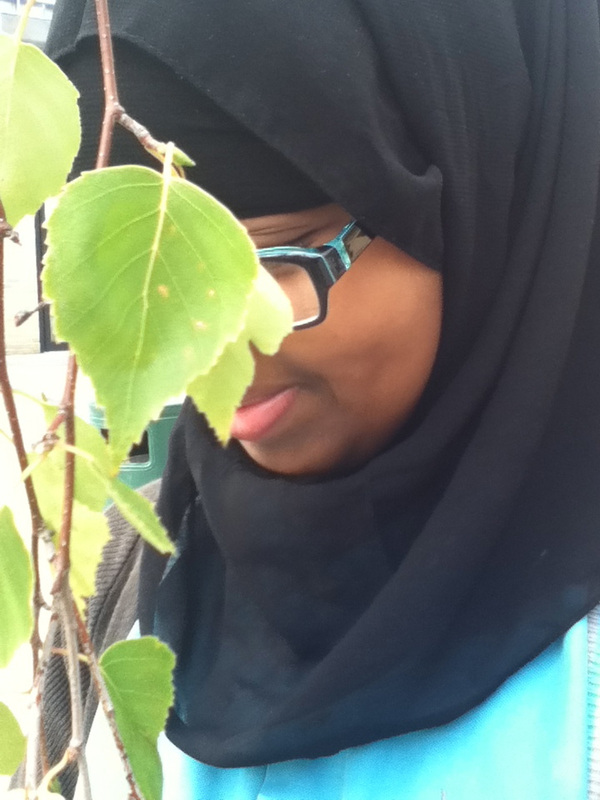
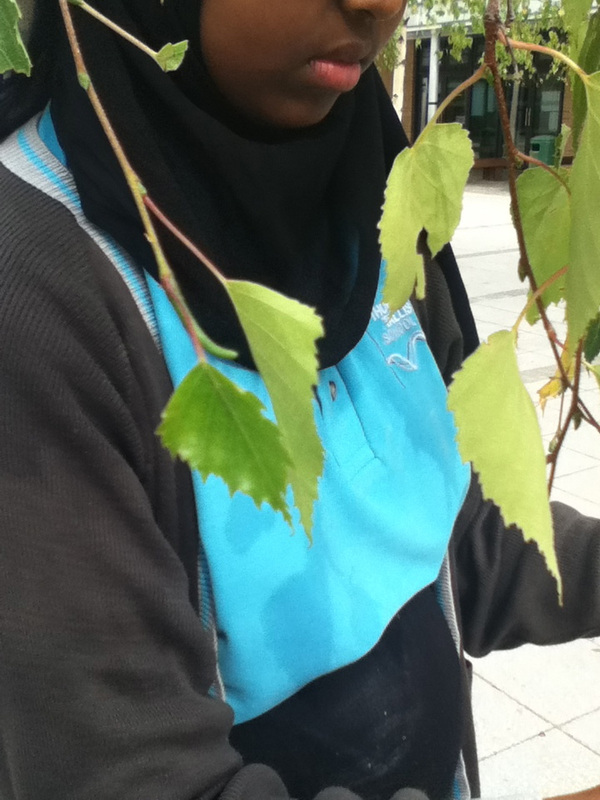
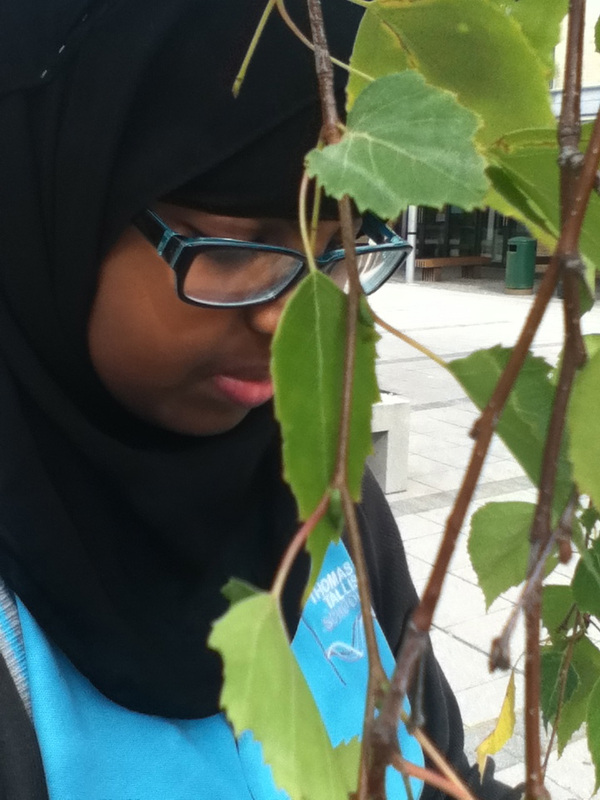
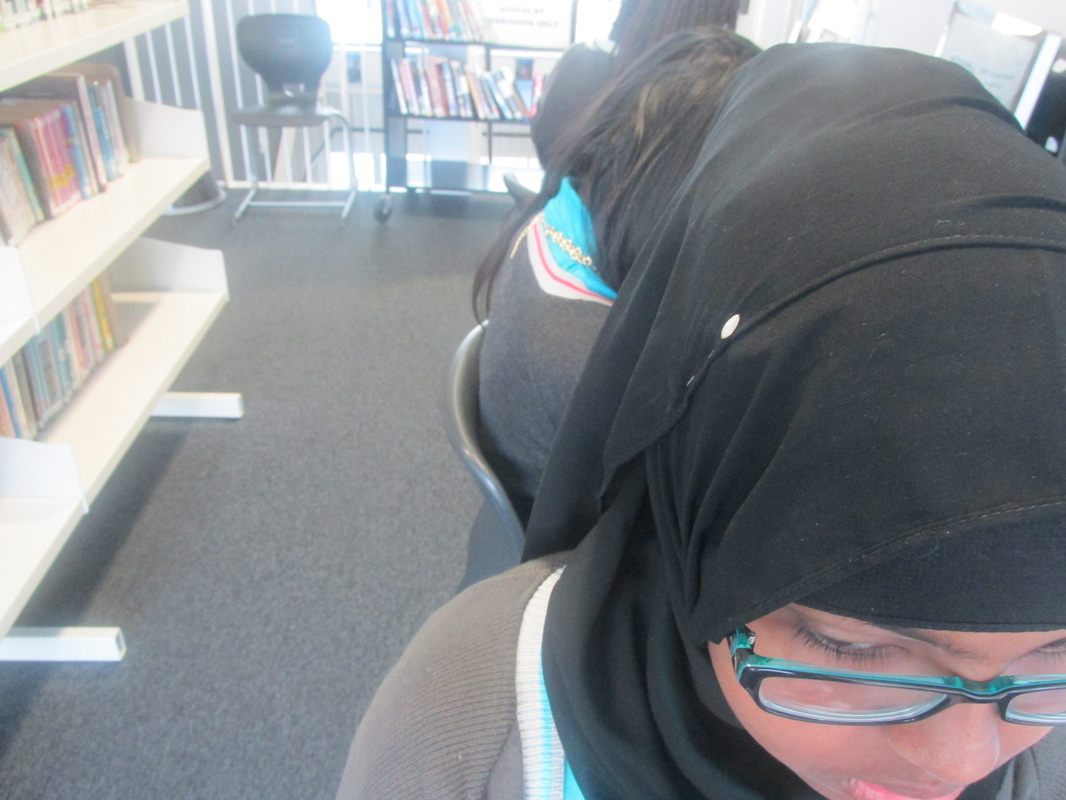
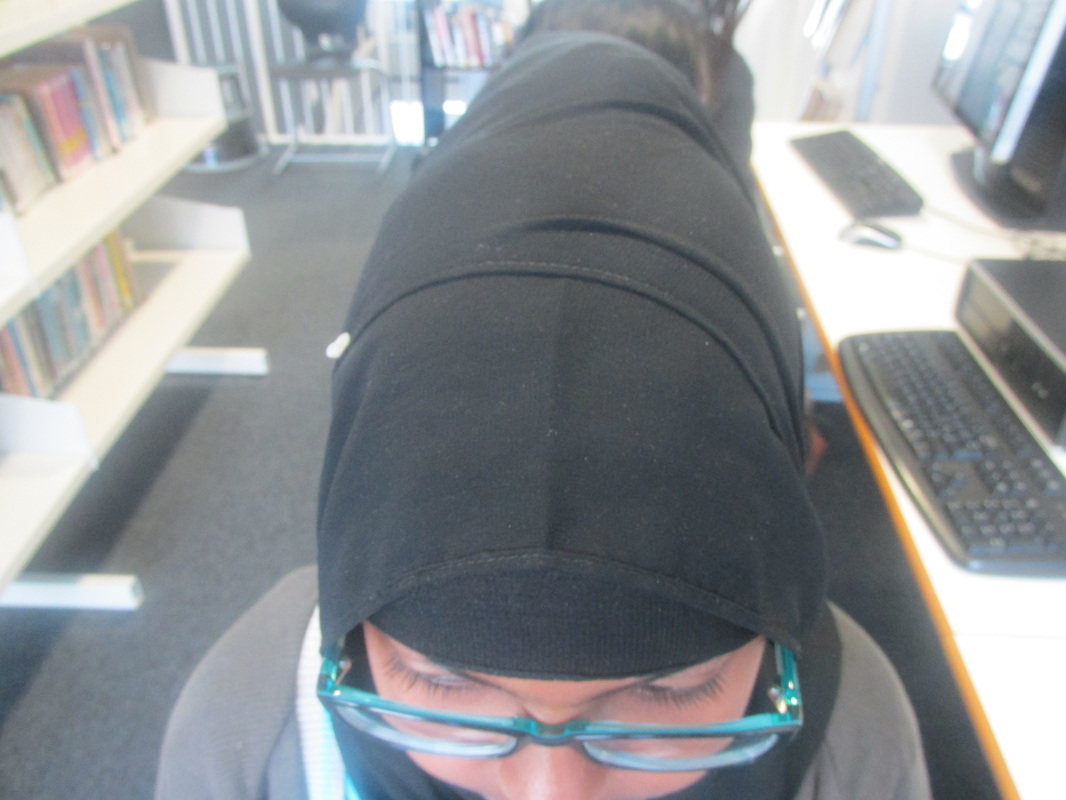
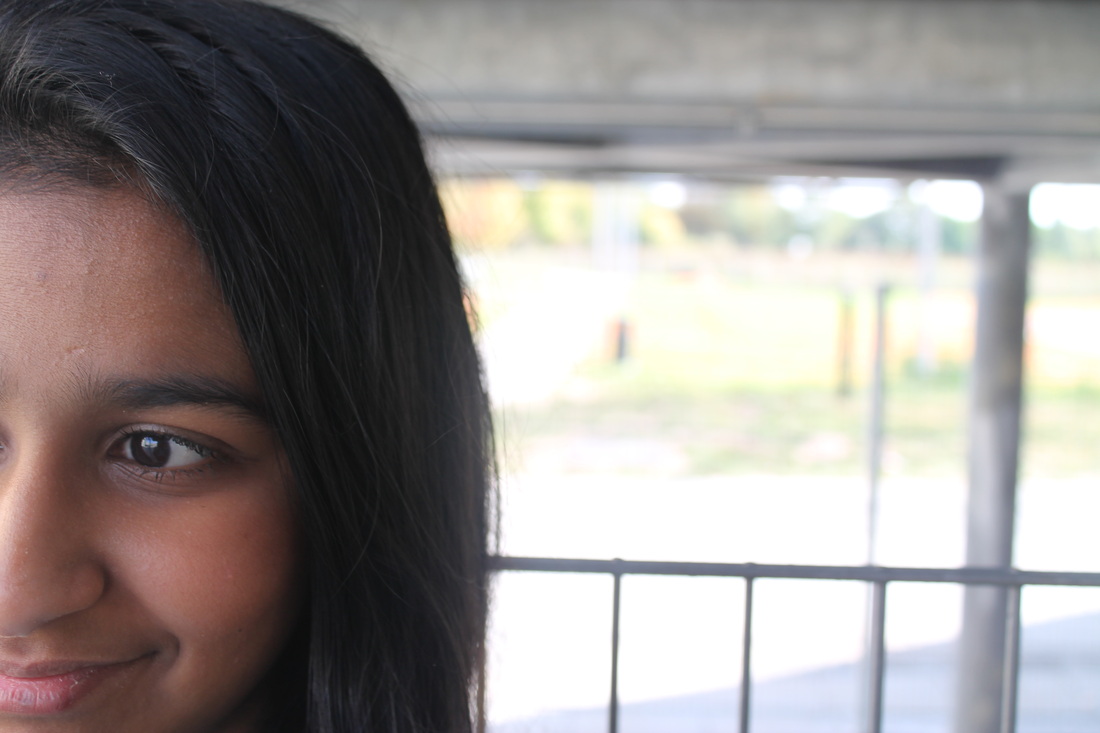
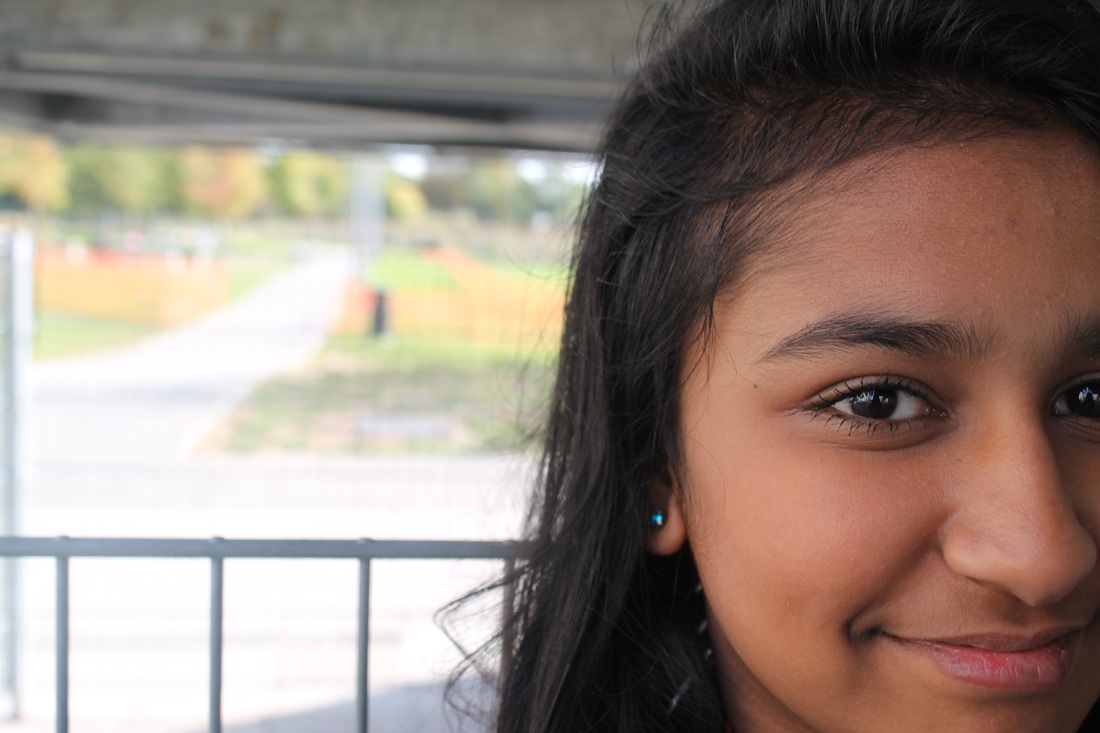
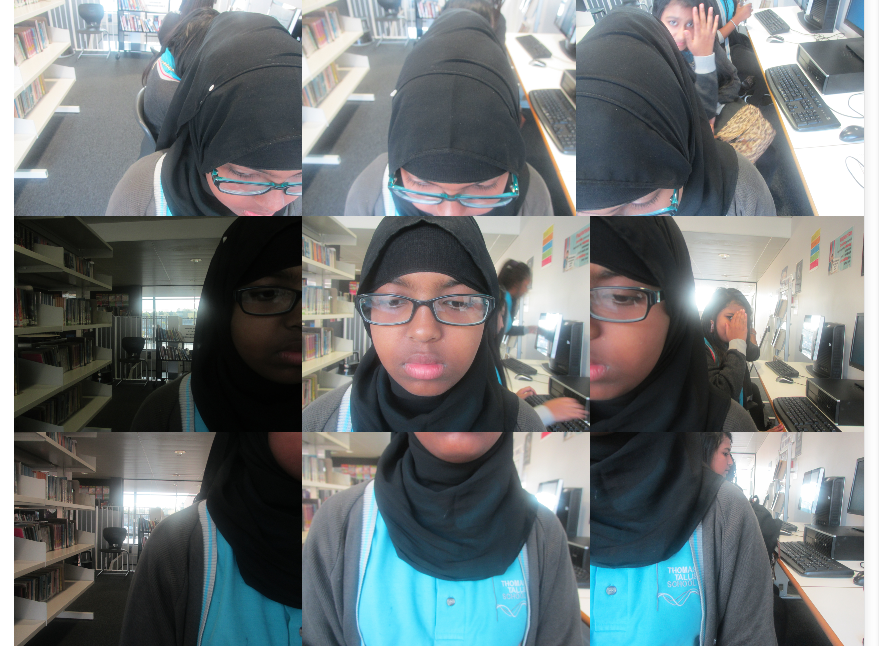
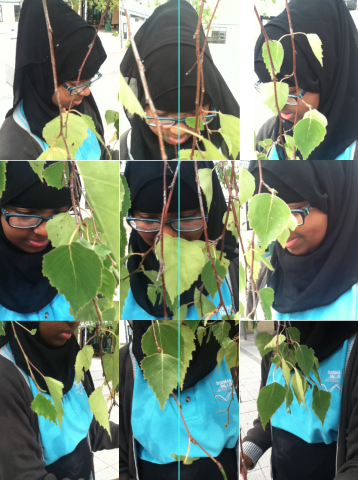
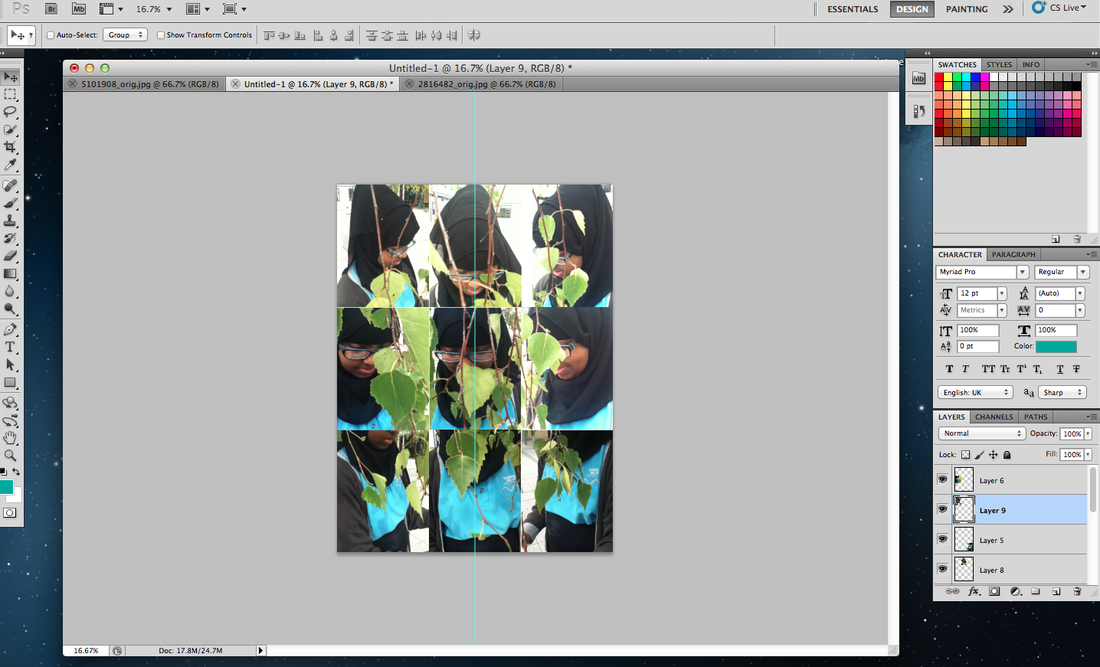
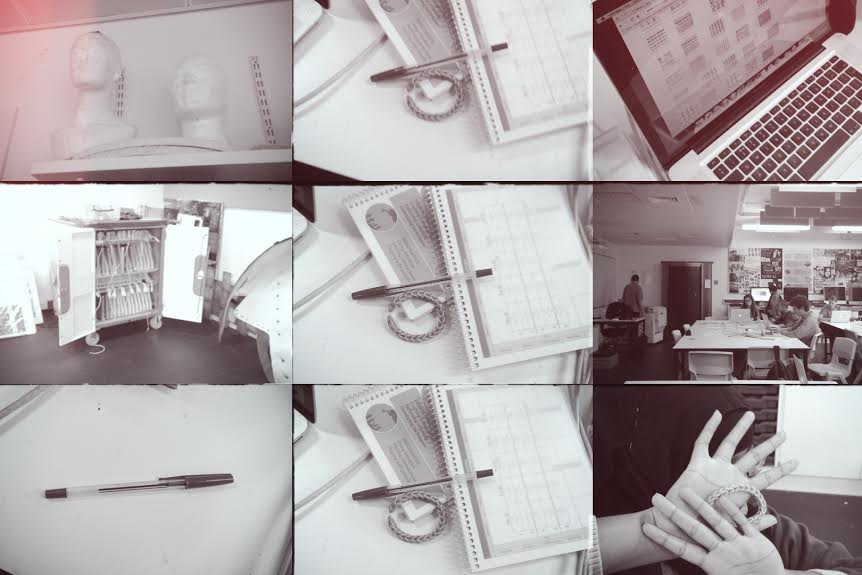
I took a photo of a student the same place but different parts of the face with the leaves to make it more interesting.
I took three pictures in a row around the face and 4 pictures starting at the left and went down from the right to the left. then I went to photoshop and took a collage and put them together. |


homework
|
|
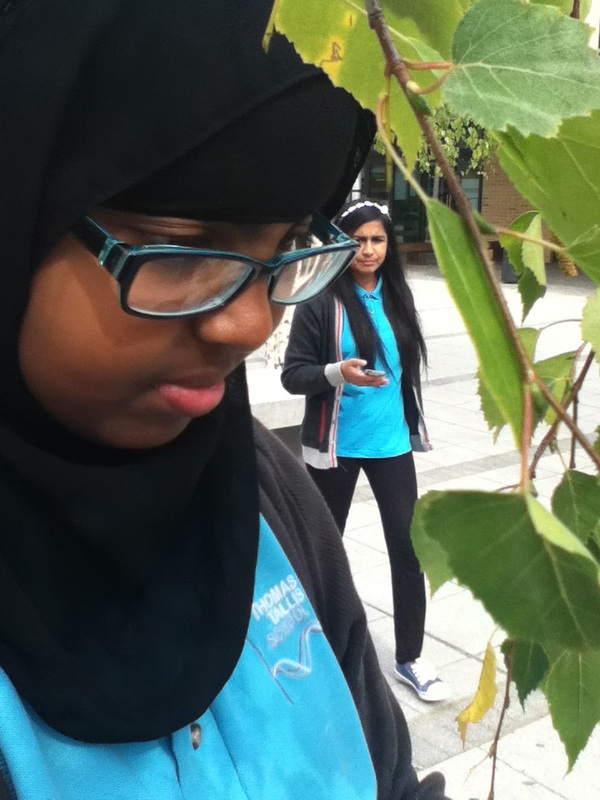
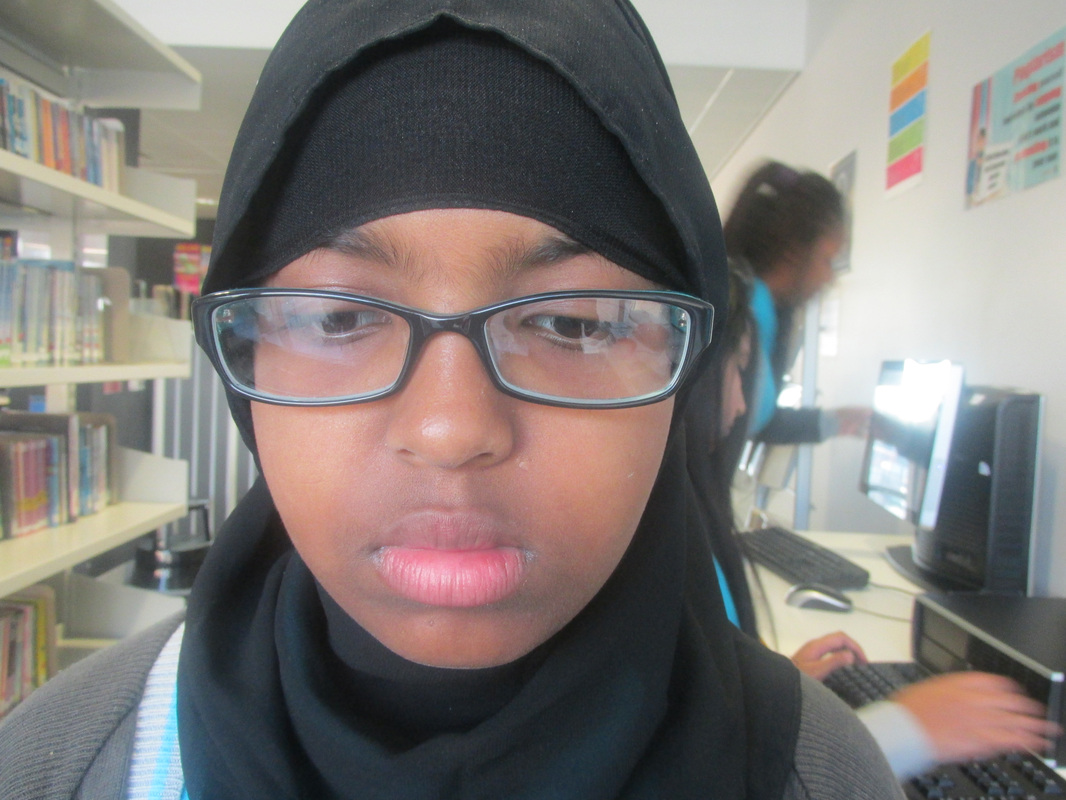
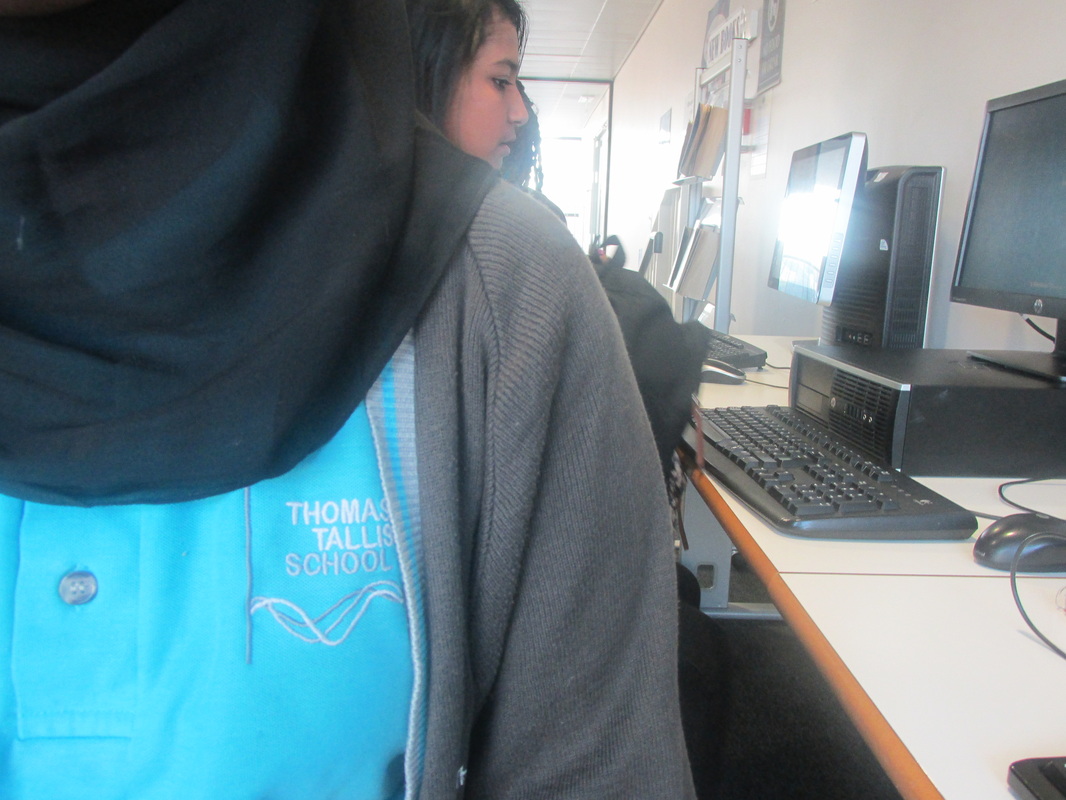
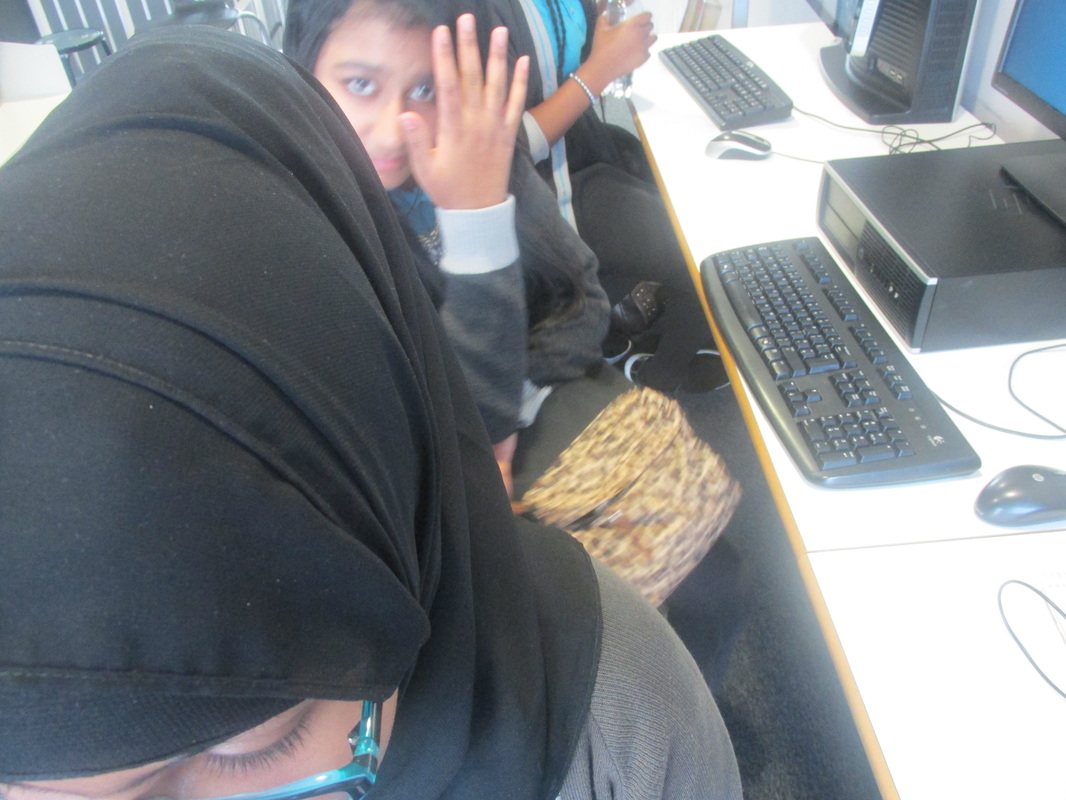
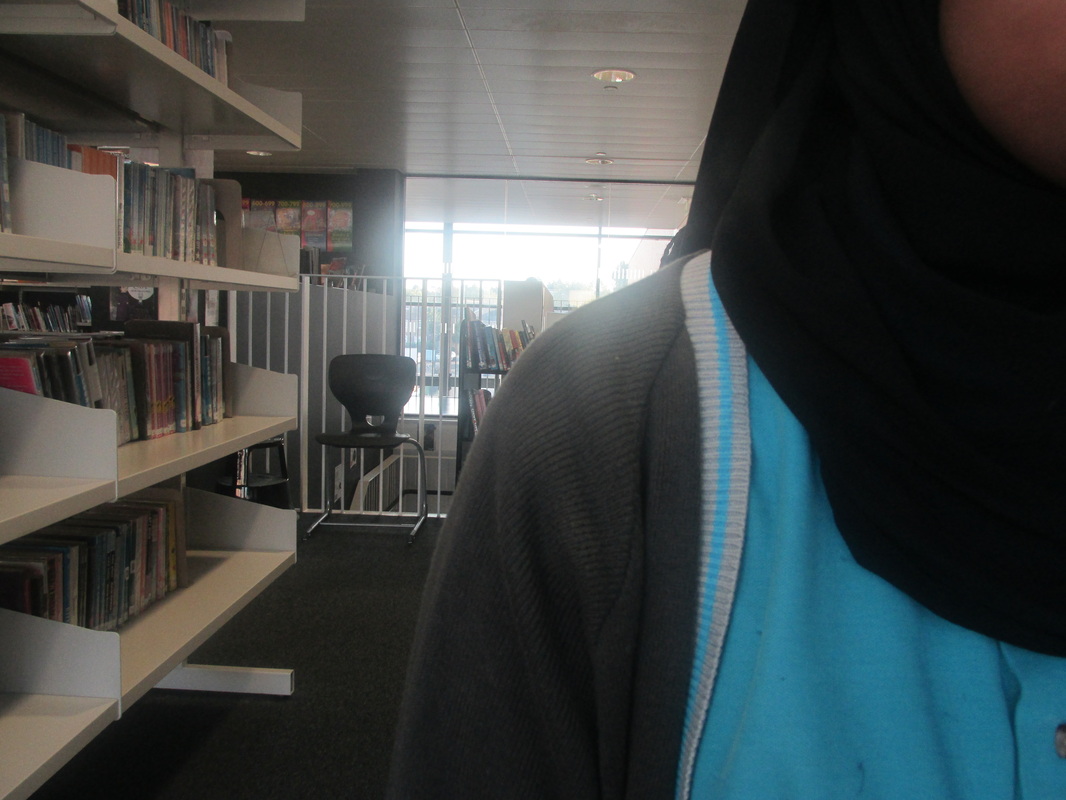
my images collagesthis is my photo that I tool of a student in the libary in the morning and i started from the right to the left then I edit it by using photo shop and upload to my website
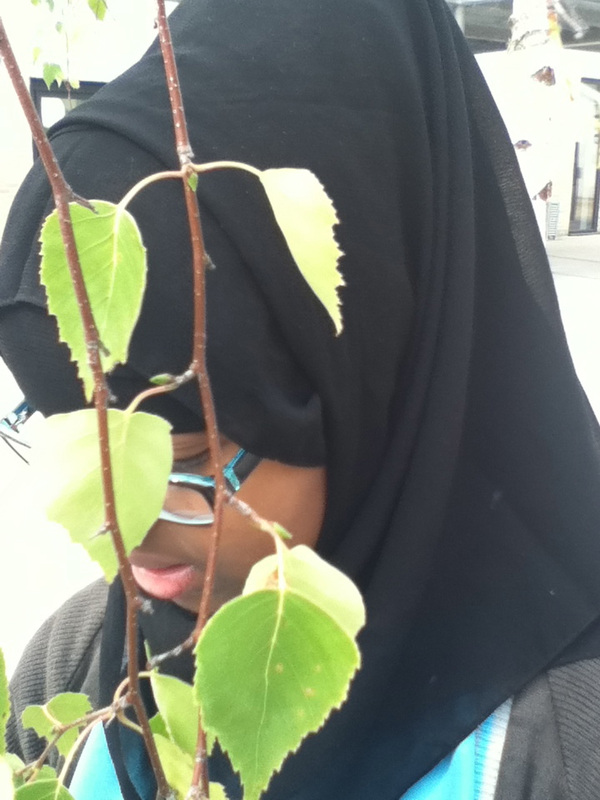
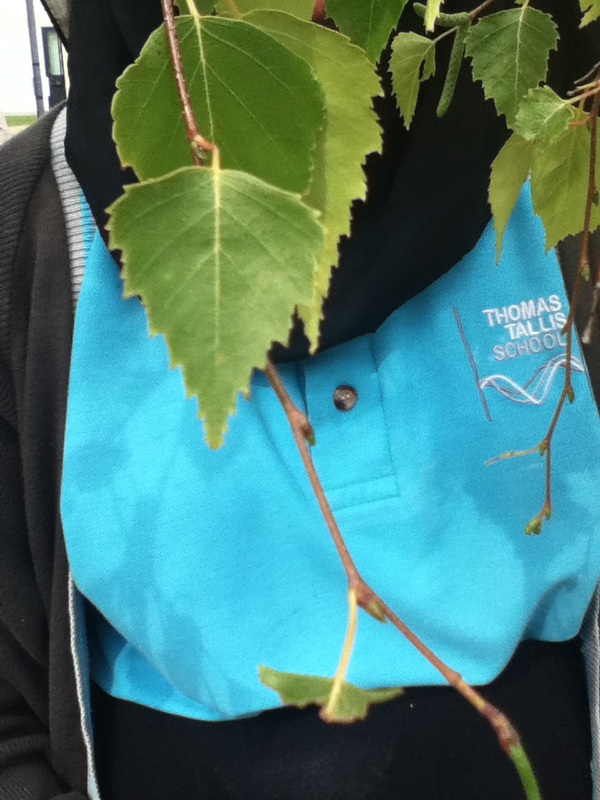
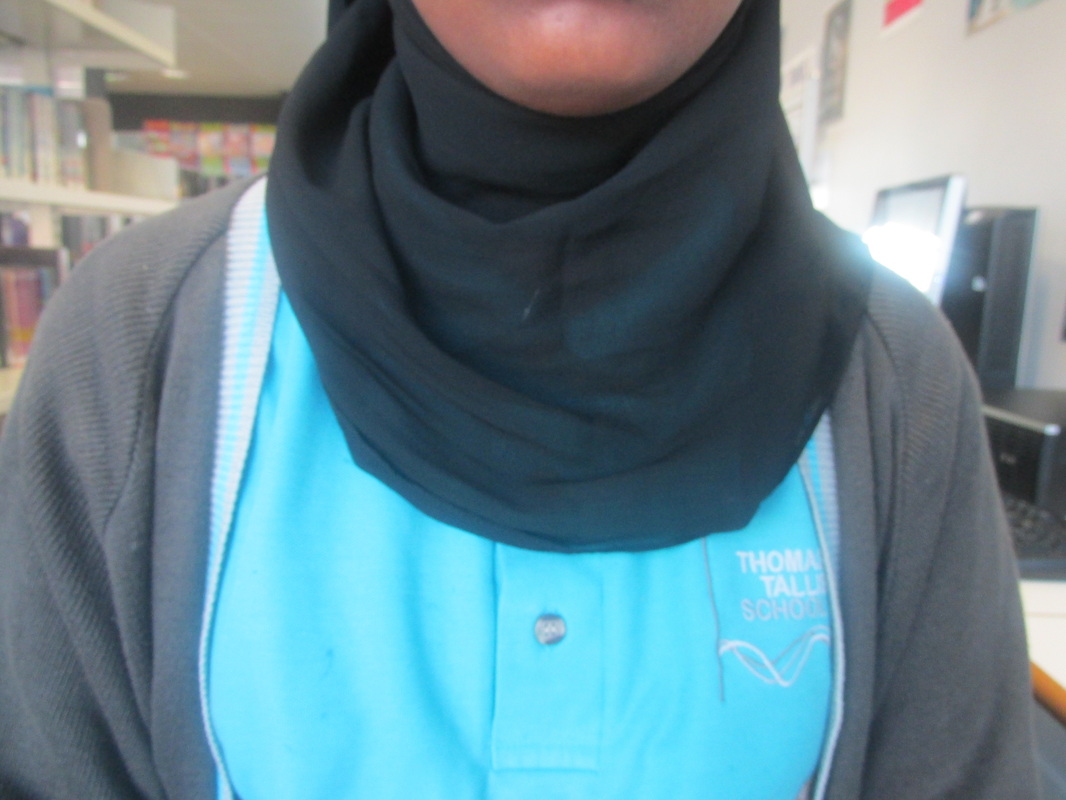
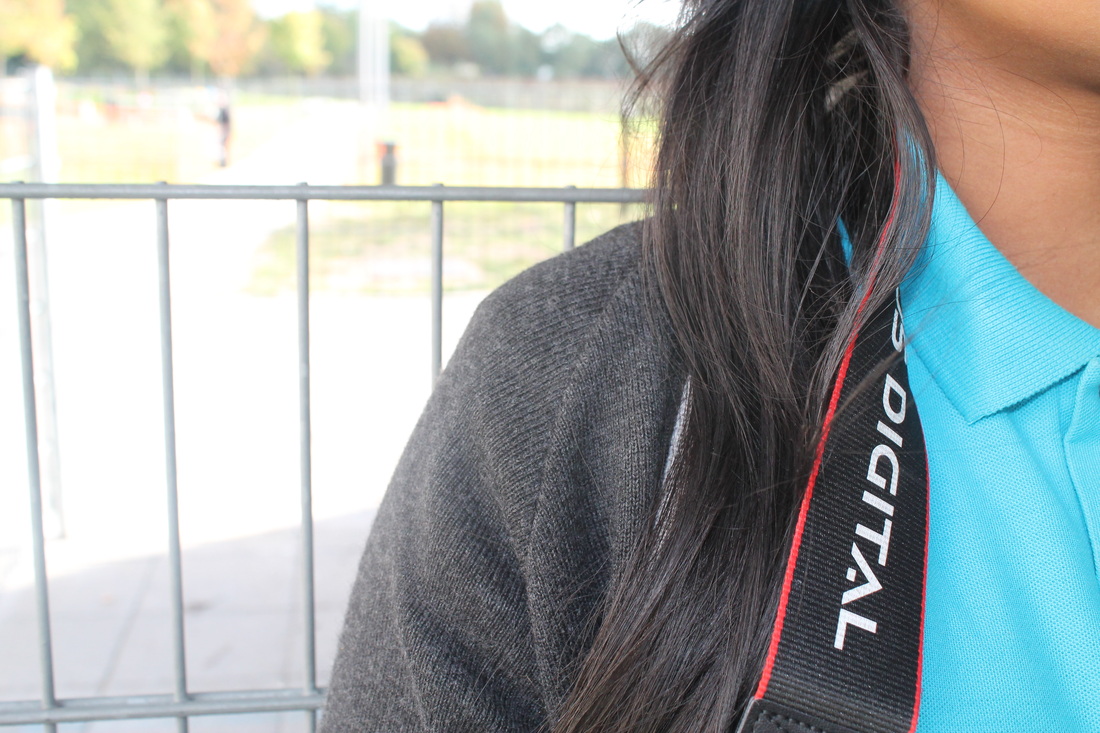
this photo that i took of a student by a tree has been flip the other way around so its more interesting. |


steps by steps how to do image collage
1) take all the photo that you want and upload it to photoshop then go to 'image'- image size and times the number of rows by the number numbers of colom that you have taken the photos then put your photos in the order like maybe you have started form the left then you go the right, must do it the order you put it in or right to left which ever you done.
my evaluation
|
www:what I did with this picture is I printed each one of the picture separated and I will mount then on a big paper to display my picture , but before i did that I guillotined the picture to make the pciture perfect.
|

|
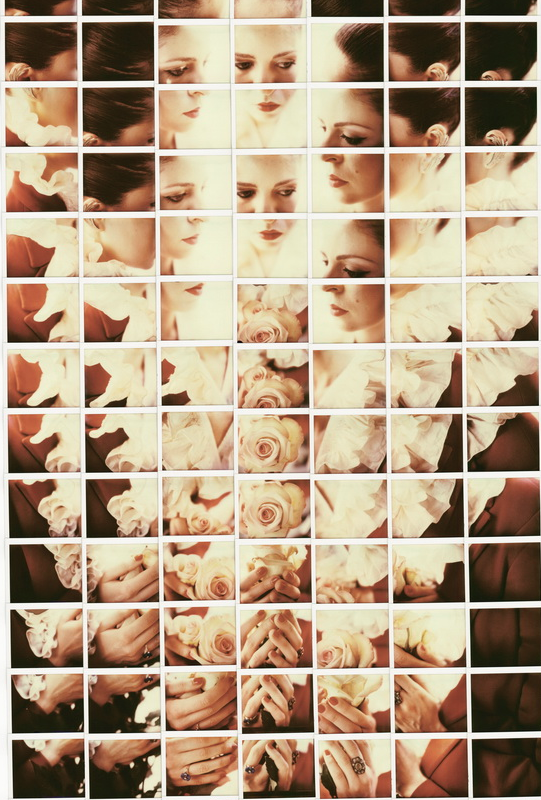
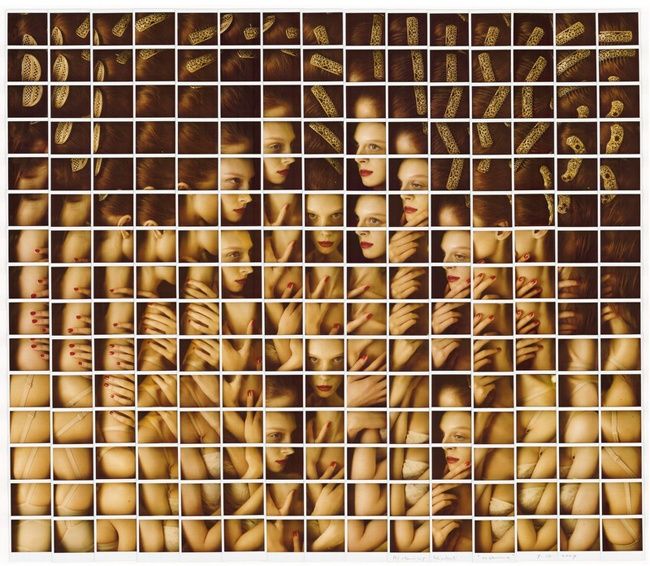
i think this image is really interest me most because the way its has been done and i really like how Maurizio Galimberti has presented the flower in this picture, also it looks very creative. i also like how the edits has been done with the lady in this picture and to me it looks like he worked really hard but at the same time it could be easy to do, that was the main reason why i like this picture.
I have try to take a lot of photos like he did but i did it the simple way but i want to make my image more interesting and similar to the way he did his picture, maybe with myself or a friend to make it more interesting.
|
|
|
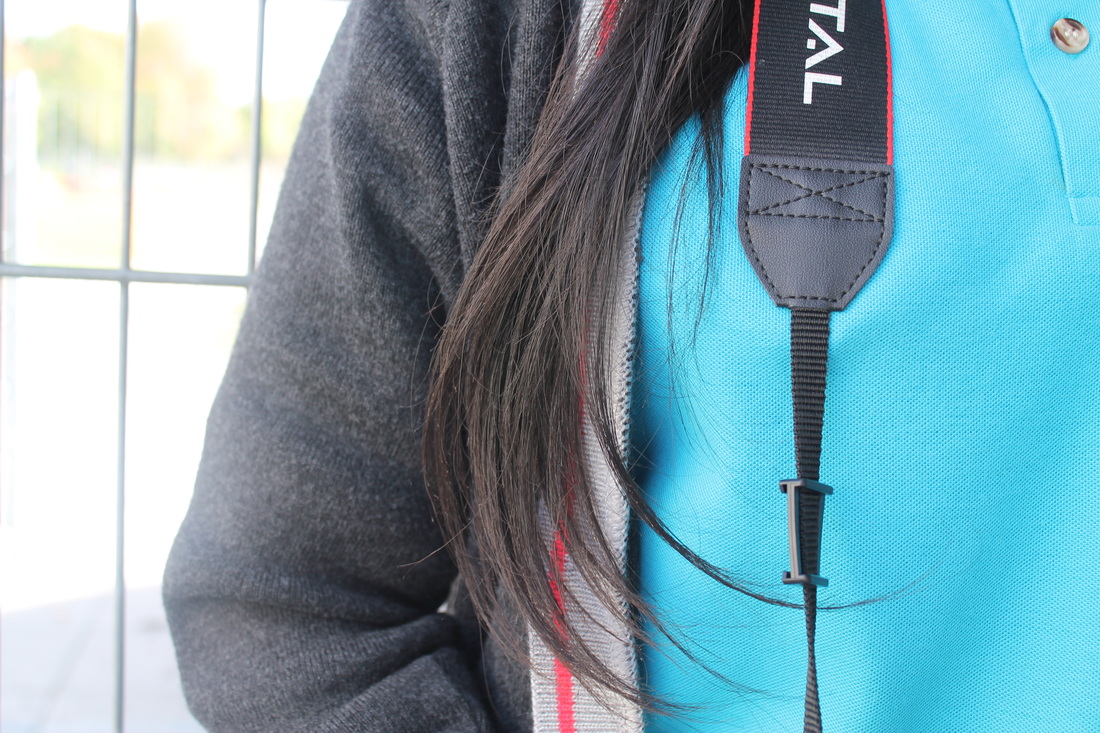
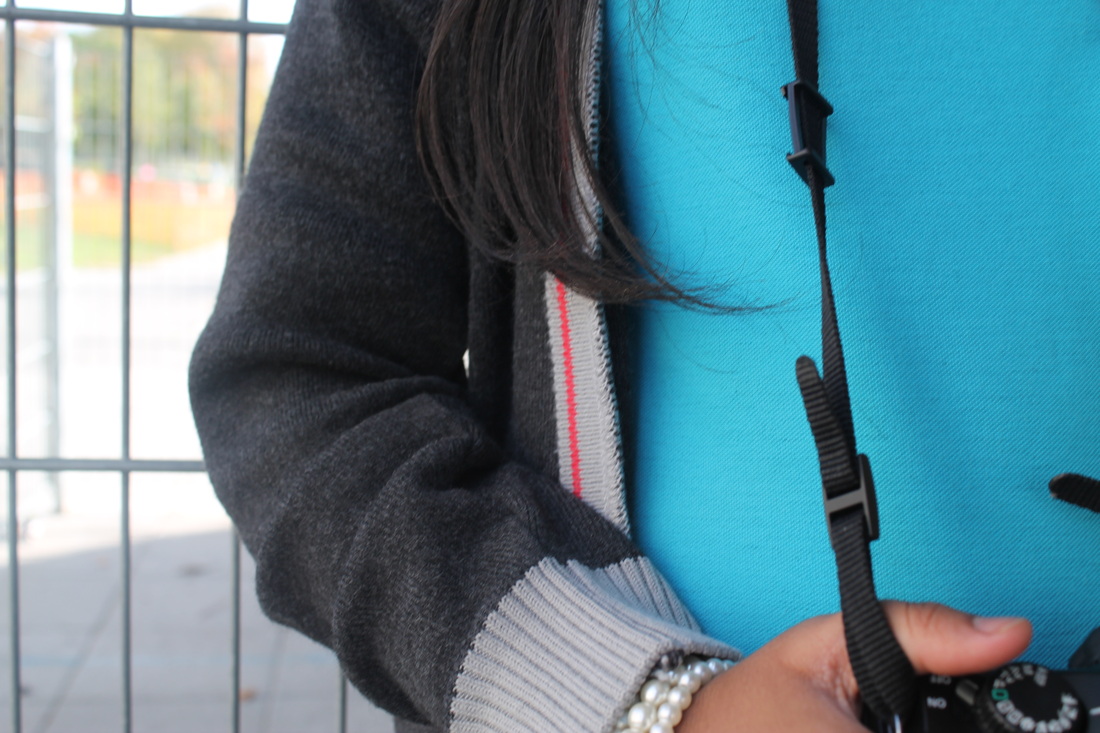
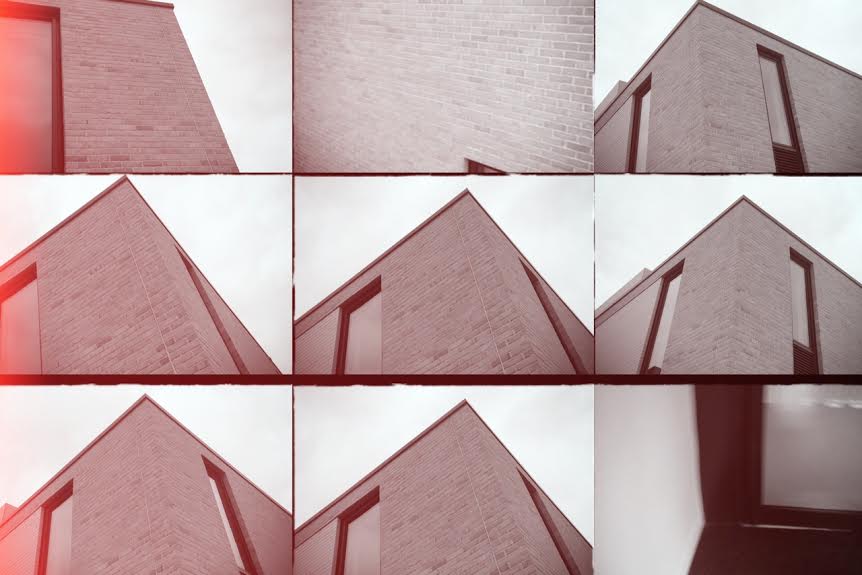
WWW:I took these images outside the school building and i tried to make it like Mauizio Galimbert, but i did it the simple way with an app
EBI:Next time I will take picture of my self or someone else and try my best to edit them like Maurizio Galimberti did his.
|
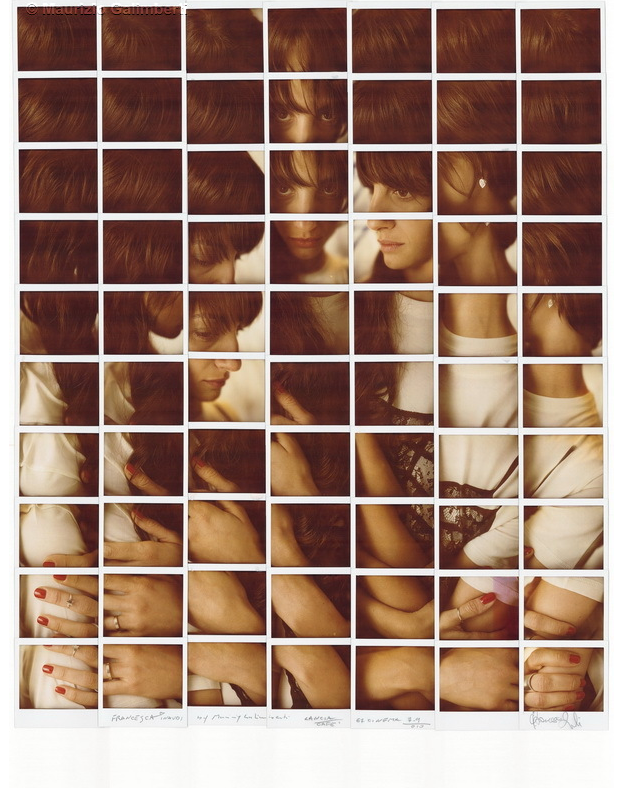
Brno Del Zou
|
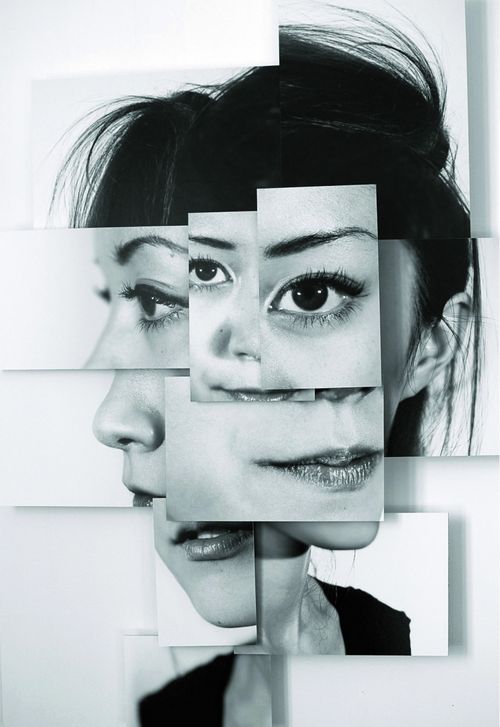
I found this picture on Pinterest and i think that this picture quite interesting. the way i think it might be made is a picture of one person and then the trimmed and been sticked in different parts and it looks a bit confusing. what i know about this pictrue is that this picture is black and white and if i done this in my work, i would overlap these, and try to make it more interesting.
|
why I like it?I like this picture because i different parts of the faces are in different places and that's one reason why I like this picture. Another reason why i like this picture is because its very creative and imaginative.
|
|
hannah Hoch
|
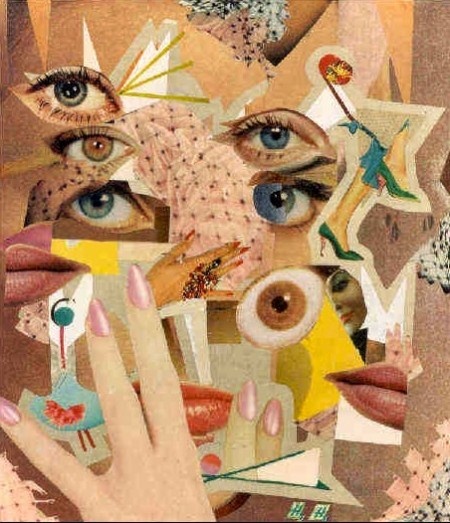
I found this picture on Pinterest and this picture is very interesting and confusing a bit, there are lots of variety of items in this picture from the face example: the hand, eyes, mouth.
different parts of the face has been cut out and sticked onto each other also the feet and eyes is made to look like the body, I think that this photographer made this picture very different from any other pictures that you would see also its very colorful and well edited. |
why I like it?i think that this is a very good photo because when a person looks at it they try to work out what the photo is and what is in the photo, they try to get what details in this picture. i think this picture is creative, by Hannah she is very different from everyone else.
|
|
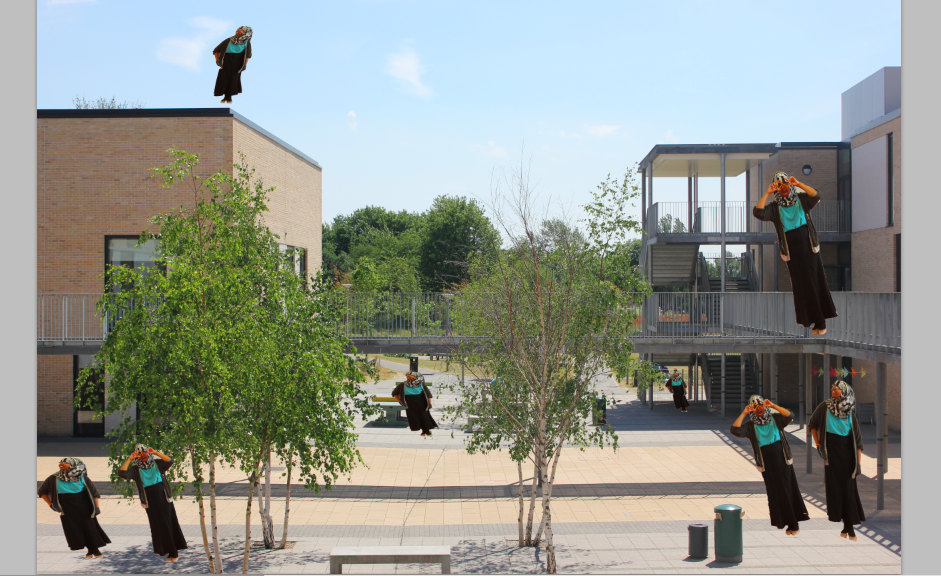
MY final image
WWW:
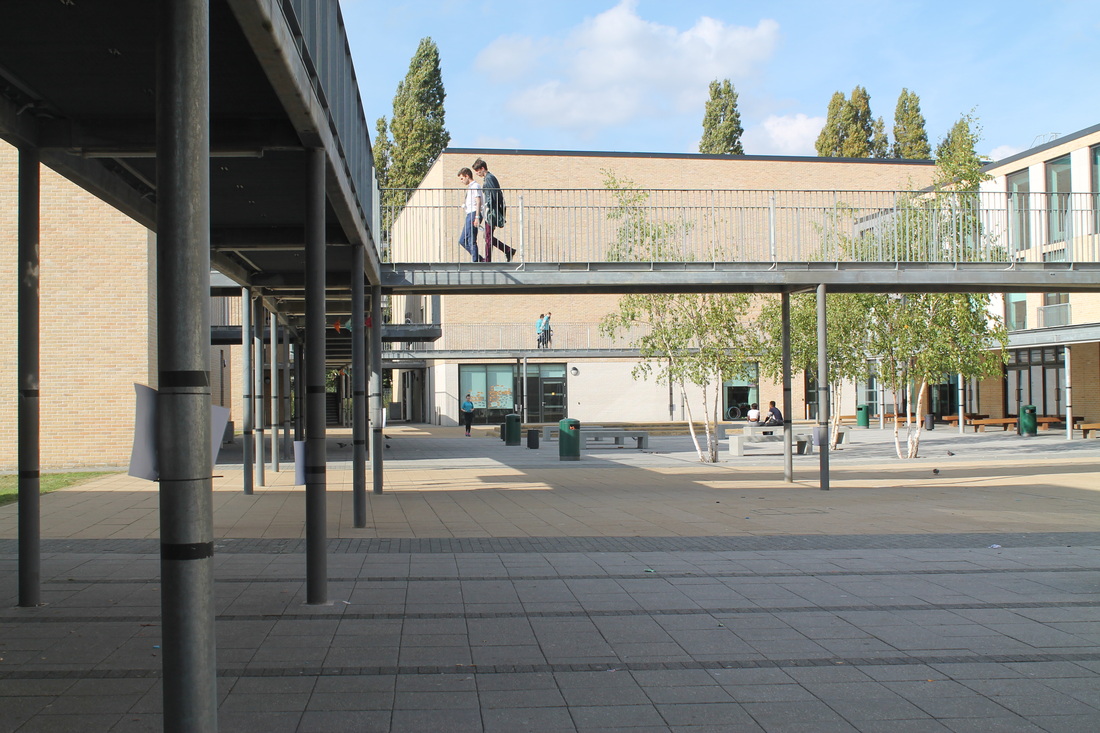
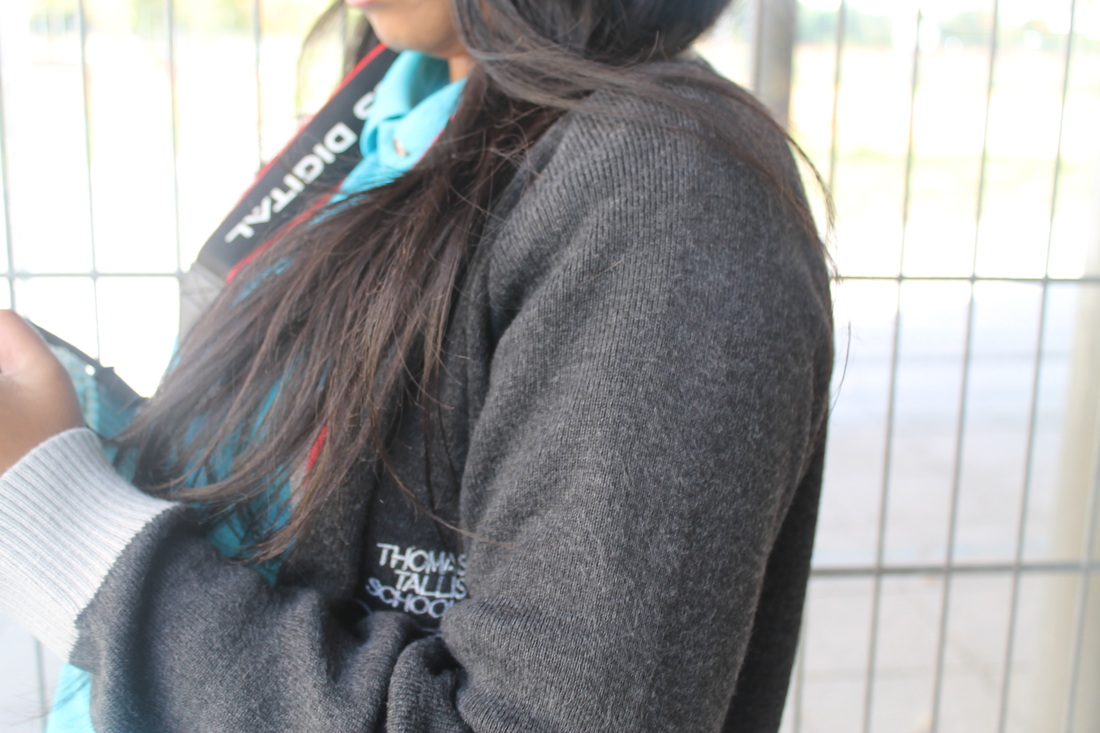
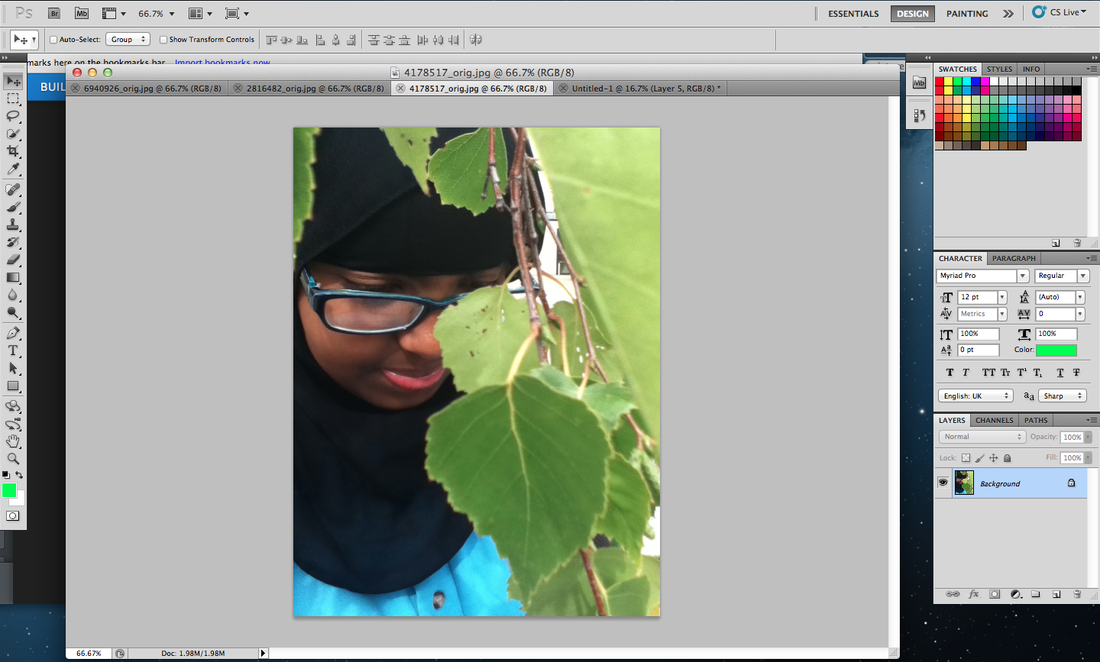
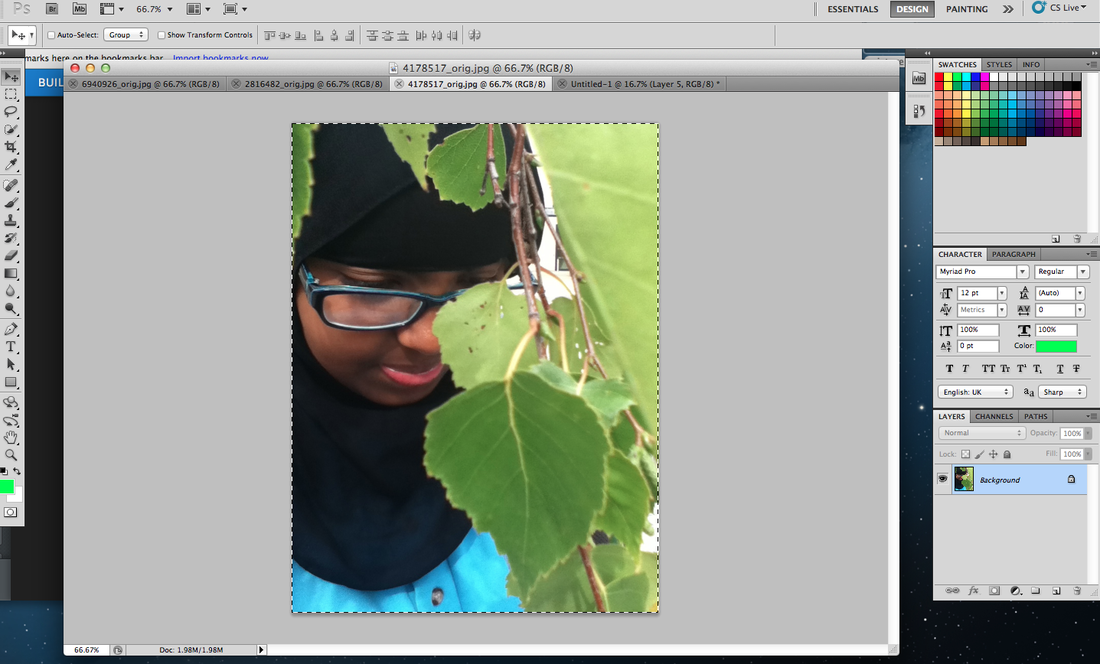
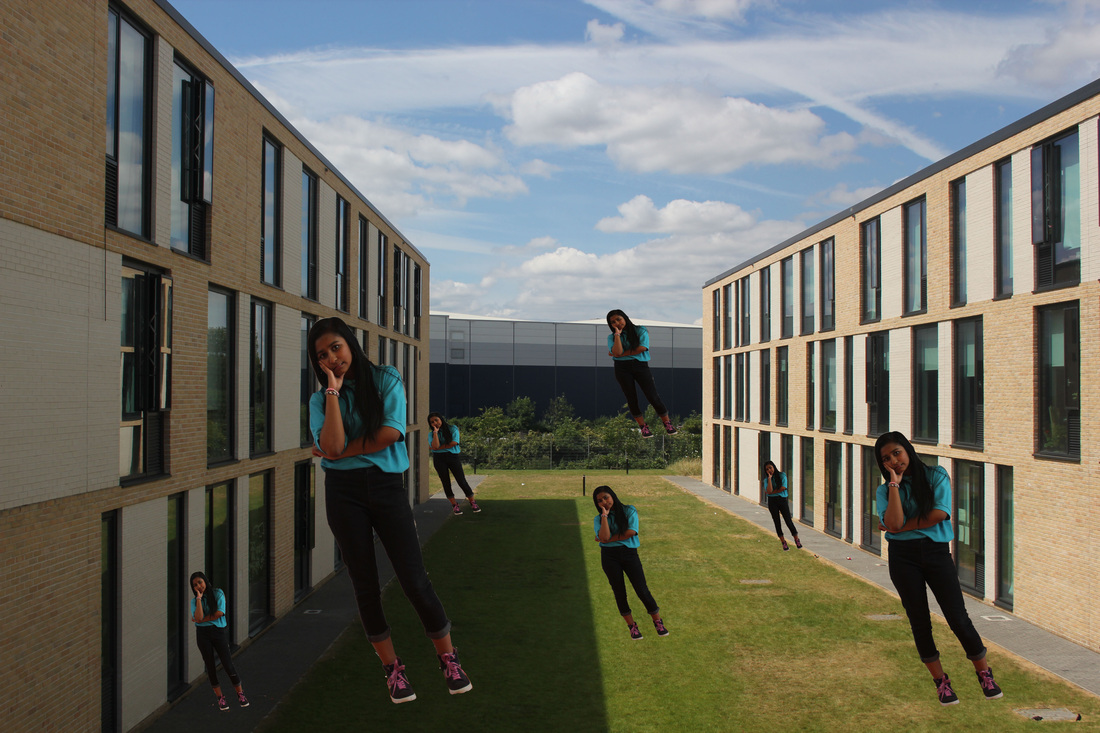
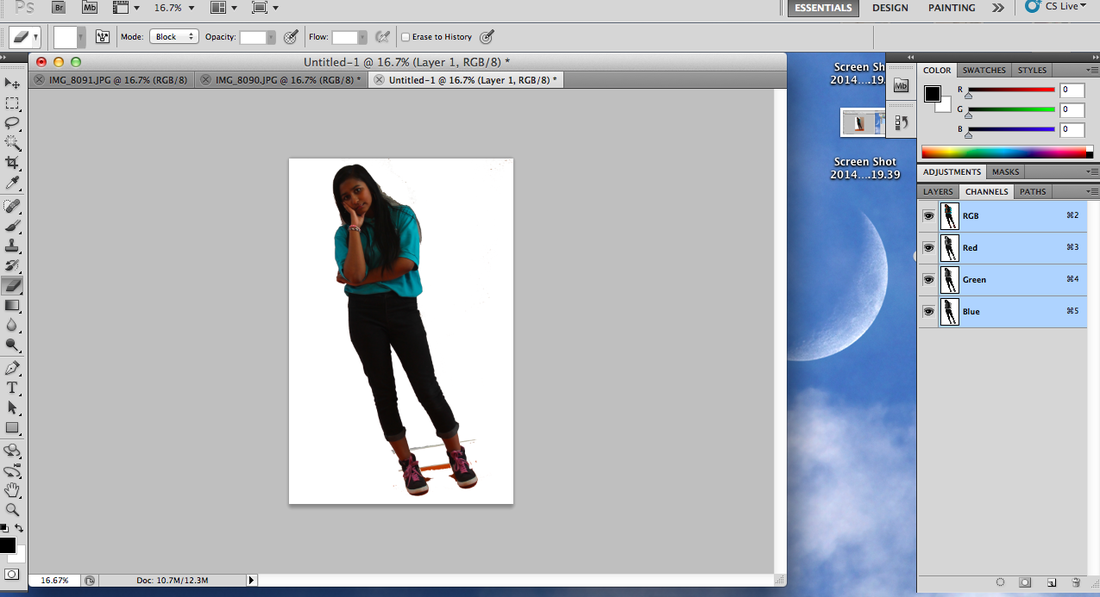
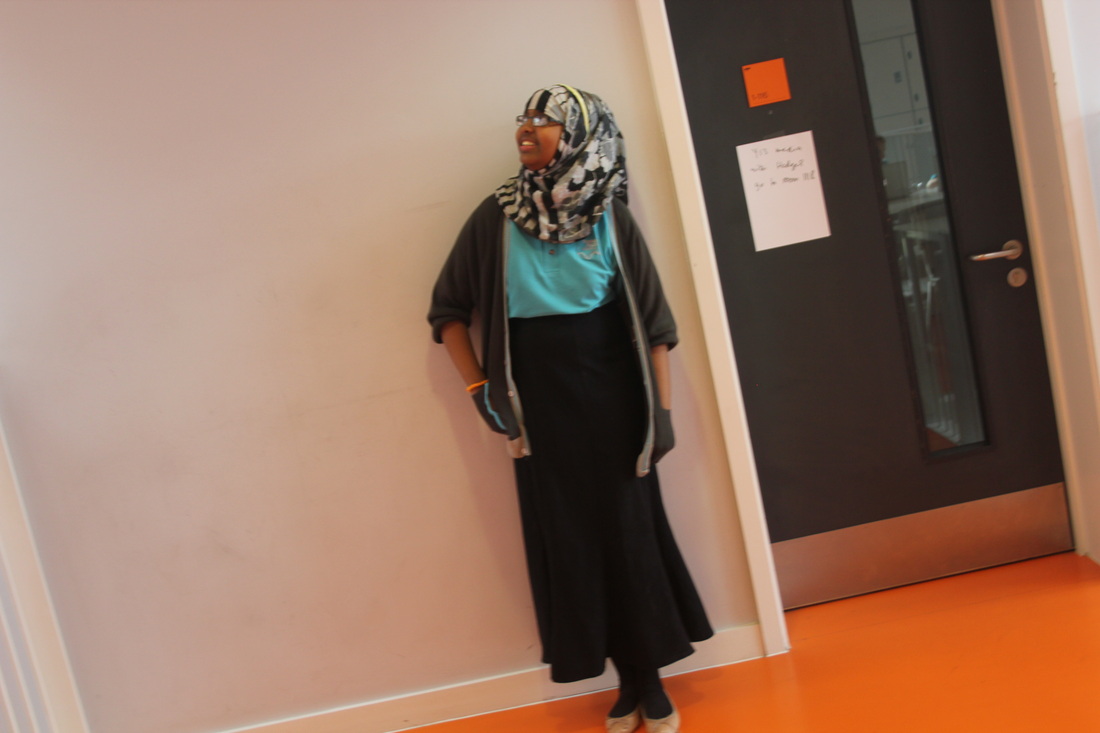
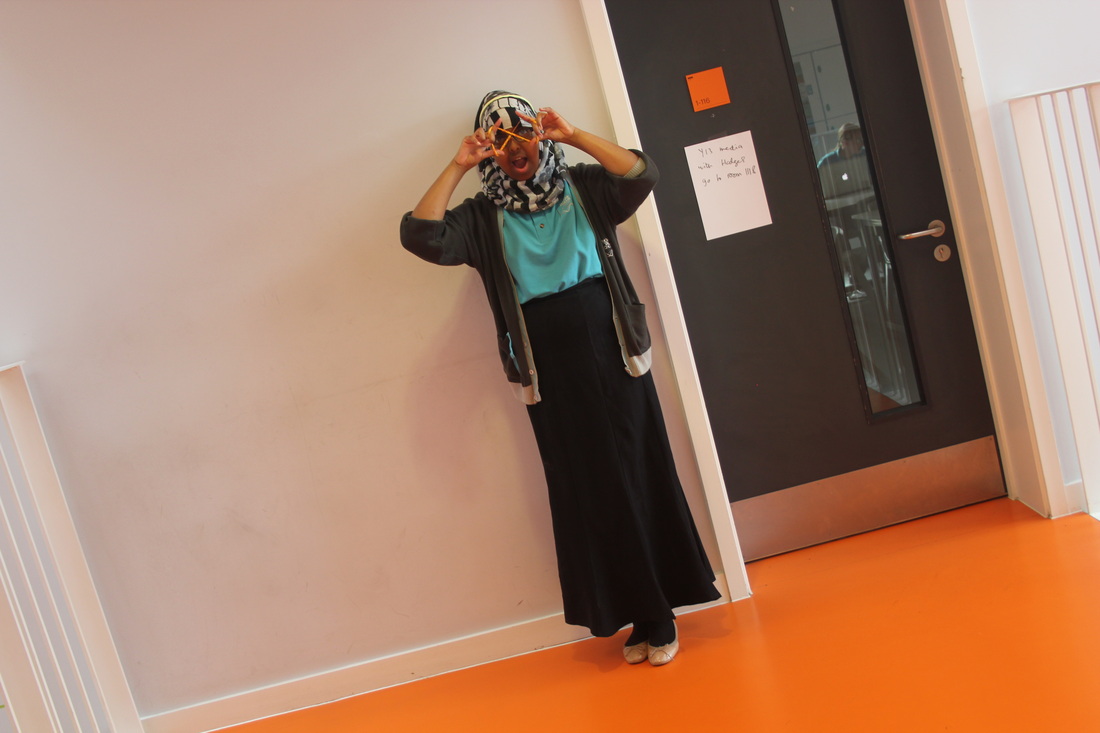
I created this picture in photoshop by taking 2 different photos, i took a photo of a student from Thomas Tallis school and i took another picture for my background, then I put together in photoshop.
I think i done this photo well and I like the way I created it.
this is how I created this photo:
I think i done this photo well and I like the way I created it.
this is how I created this photo:
EBI:
For next time i could make it different effect on the student like one park could be black and the other is white, also I could add another person to make it more interesting.

Evaluation
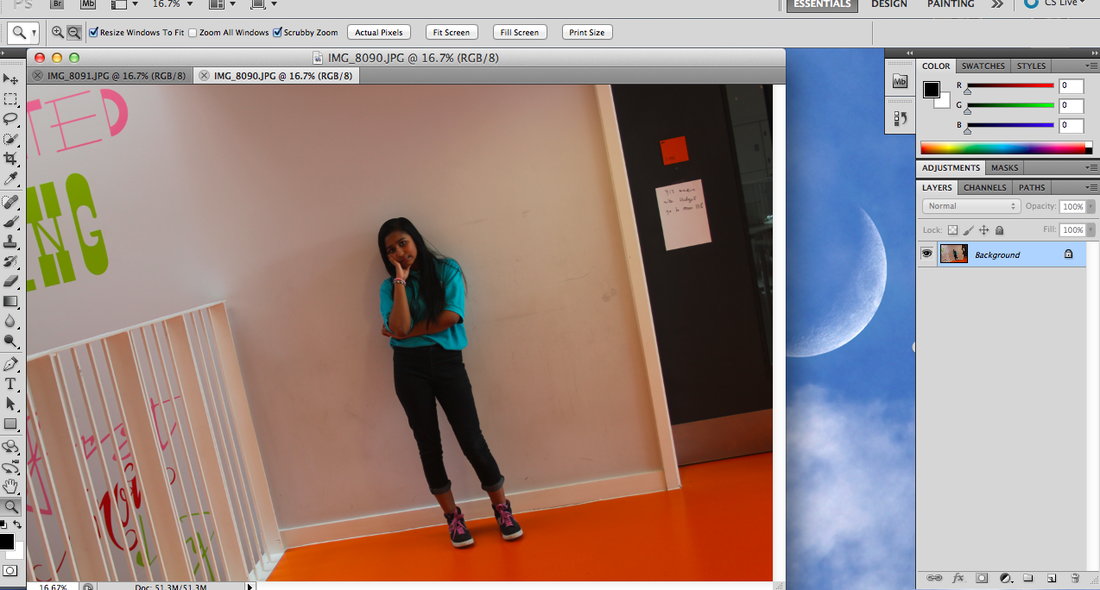
WWW: when i started to make this i thought it was going to be hard and it was easy to do but just took me a very long time to get going with the different pictures , and how i made this picture is by using photoshop, first of all i took picture of a student 2 pictures off her and then another picture which is the background, then i put the 3 pictures together, but i kept forgetting what to do when i was editing it like what "key" to press, example- "cmd n then cmd n" and they copy the pictures to so you can cut out the outline of that person then copy and past the person body on to the background.
now i will explain how i edited the picture together on photoshop:
1) i took the student and picture then the background ( the more picture you take of the student the more harder it gets). also the background that you will add.
2) upload the photo to photoshop
3) put the background picture first
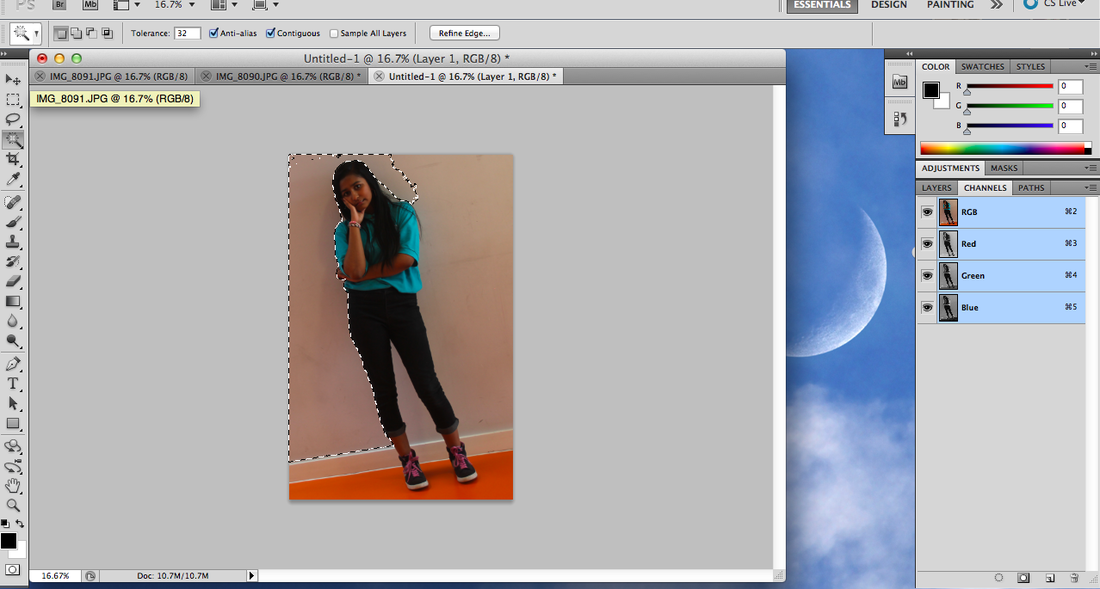
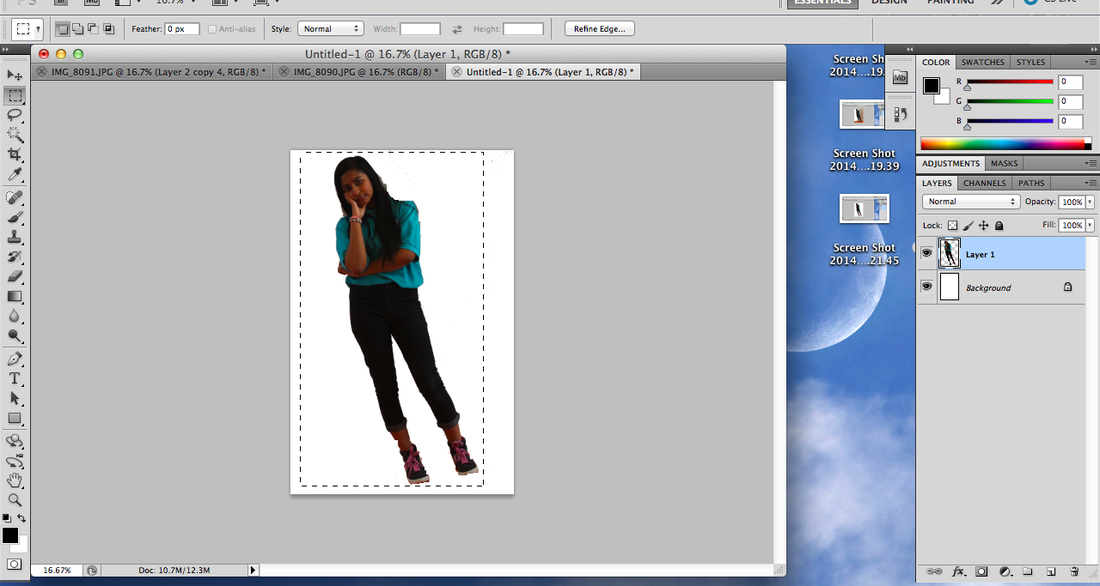
4)press cmd c and then cmd n, then it should come up with another page then you won't see a picture, because you need to press "cmd v" to past it, then choose the magic tool as i have shown another student then select all the things outside and delete them (like the background) (scroll up for help). and select the rubber tool to rub out the
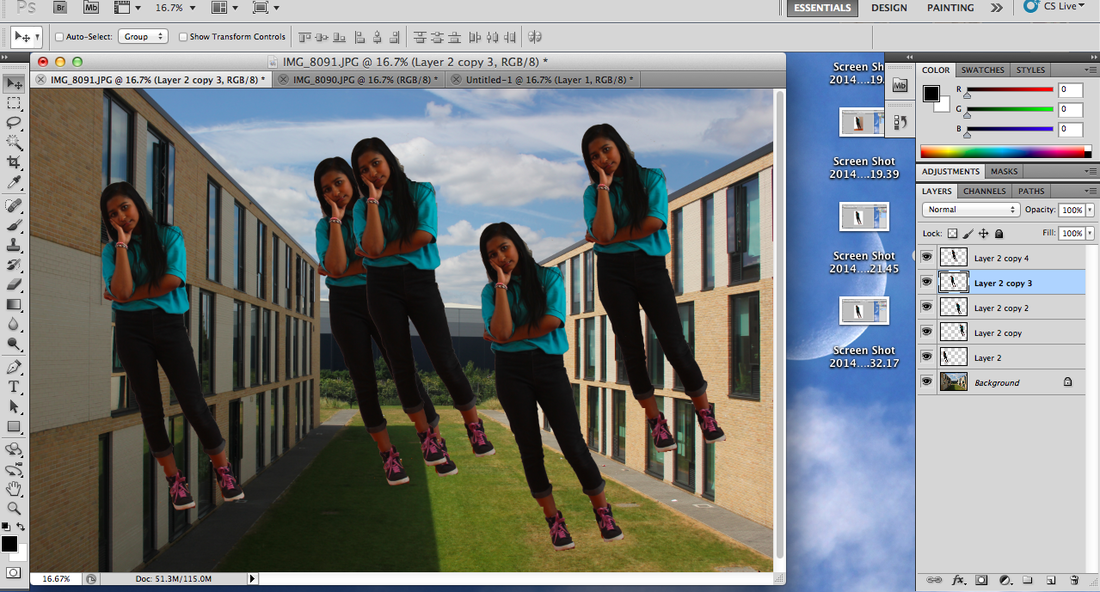
5)once you have finish that press "cmd c and cmd d" then it will to copy it to the background picture then press "cmd j" to make lots of the same person.
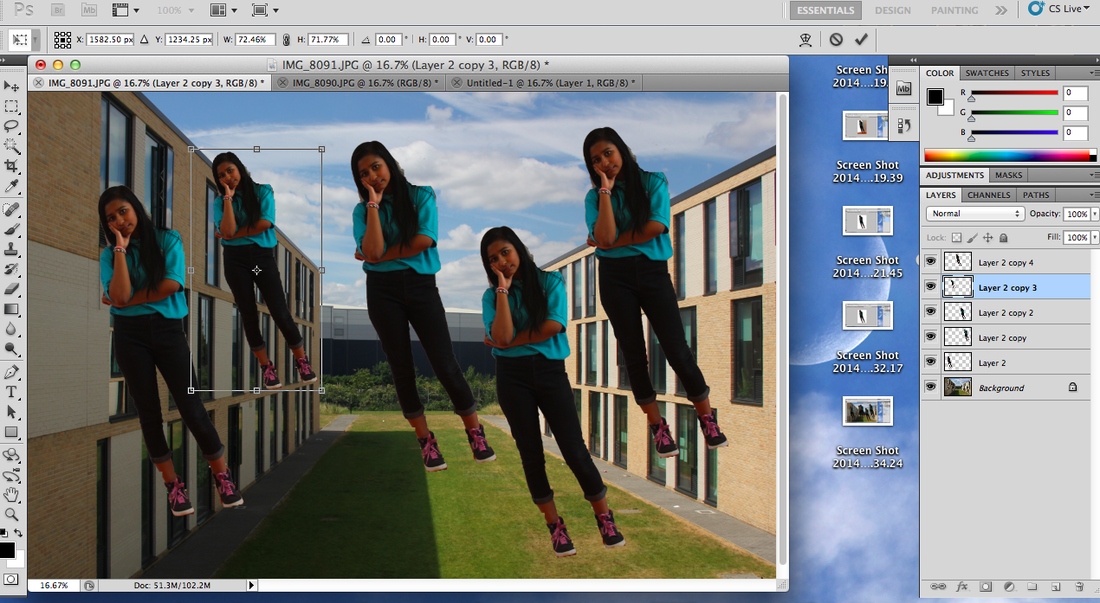
60 to move it around and make it small or big, you should see on the right it will say layer 1, 2, 3, etc.. press on what ever laya you are on to move the person around, oviously you can't move the person because you need to dumkp the background.
7) once you are happy wtih the photo then save it and you're done.
To be honest i have worked really hard to get this work done.
EBI:
I have made a little bit of mistake as you can see the shape of the body didn't stay the same, example the picture on the bottom left Also i kept forgetting what to do when i was editing it like what "key" to press, example- "cmd n then cmd n". Also, some of the cut-outs do not look realistic. for example; on the bench, Soemaya is standing up but it looks like she is sitting down. maybe for next time I can add another person to my background
now i will explain how i edited the picture together on photoshop:
1) i took the student and picture then the background ( the more picture you take of the student the more harder it gets). also the background that you will add.
2) upload the photo to photoshop
3) put the background picture first
4)press cmd c and then cmd n, then it should come up with another page then you won't see a picture, because you need to press "cmd v" to past it, then choose the magic tool as i have shown another student then select all the things outside and delete them (like the background) (scroll up for help). and select the rubber tool to rub out the
5)once you have finish that press "cmd c and cmd d" then it will to copy it to the background picture then press "cmd j" to make lots of the same person.
60 to move it around and make it small or big, you should see on the right it will say layer 1, 2, 3, etc.. press on what ever laya you are on to move the person around, oviously you can't move the person because you need to dumkp the background.
7) once you are happy wtih the photo then save it and you're done.
To be honest i have worked really hard to get this work done.
EBI:
I have made a little bit of mistake as you can see the shape of the body didn't stay the same, example the picture on the bottom left Also i kept forgetting what to do when i was editing it like what "key" to press, example- "cmd n then cmd n". Also, some of the cut-outs do not look realistic. for example; on the bench, Soemaya is standing up but it looks like she is sitting down. maybe for next time I can add another person to my background

|


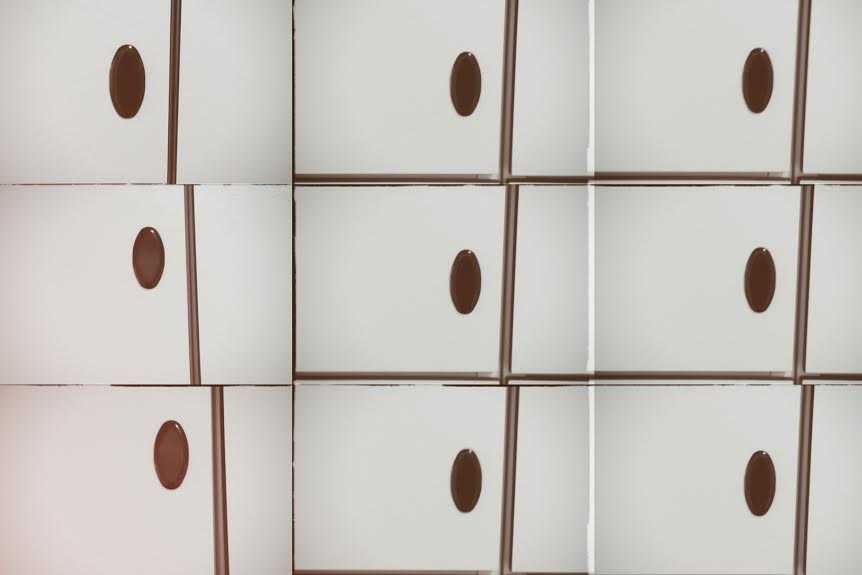
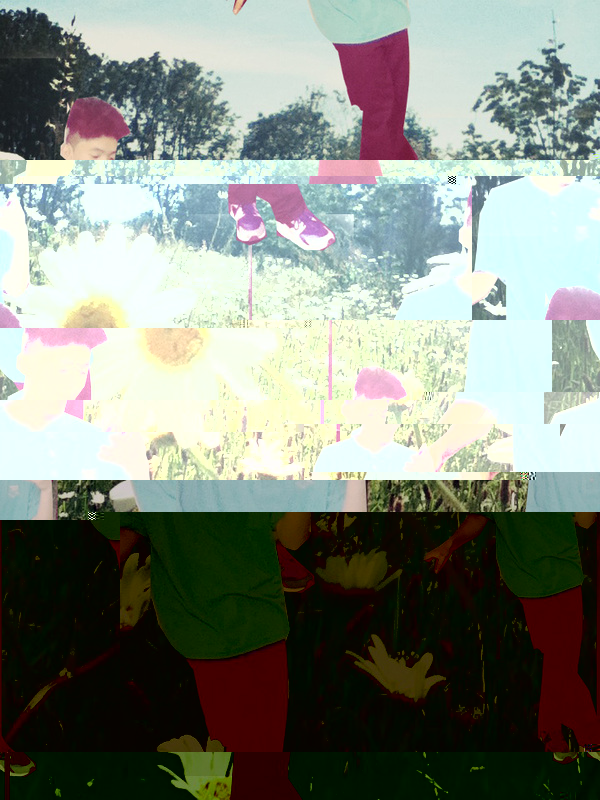
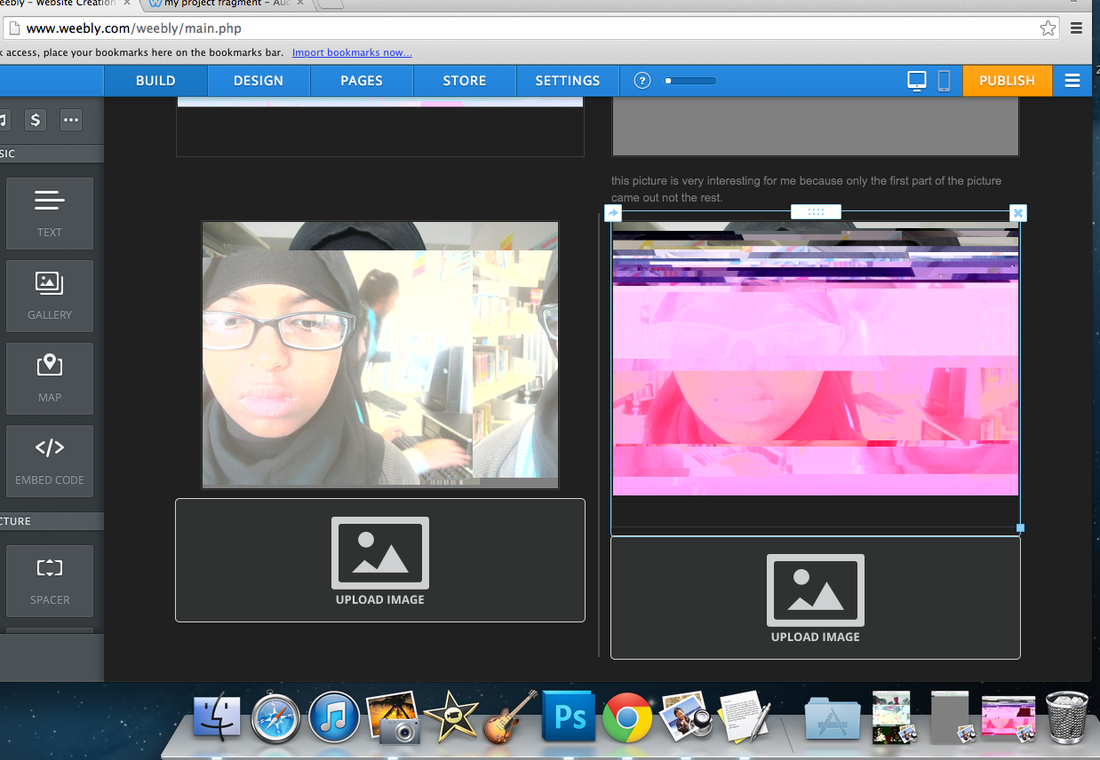
This picture is very interesting for me because only the first part of the picture came out not the rest.
|
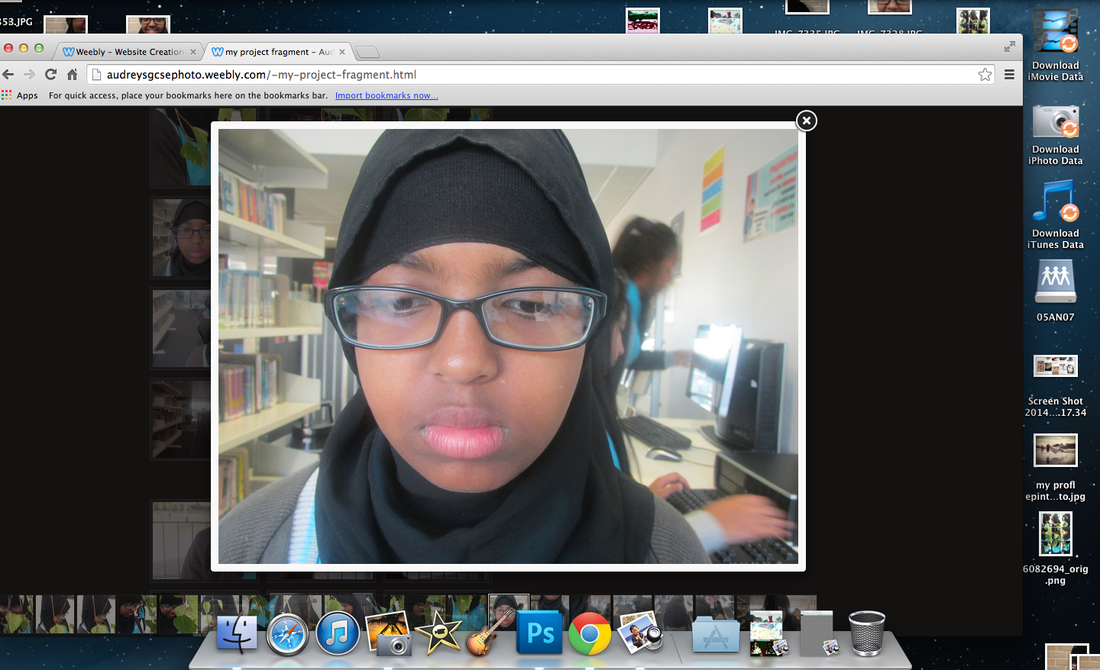
1. First you need to see which photo you like.
6) Then once you have finish make sure you save it otherwise it won't work.
|
2. Then drag it to the you screen desktop.
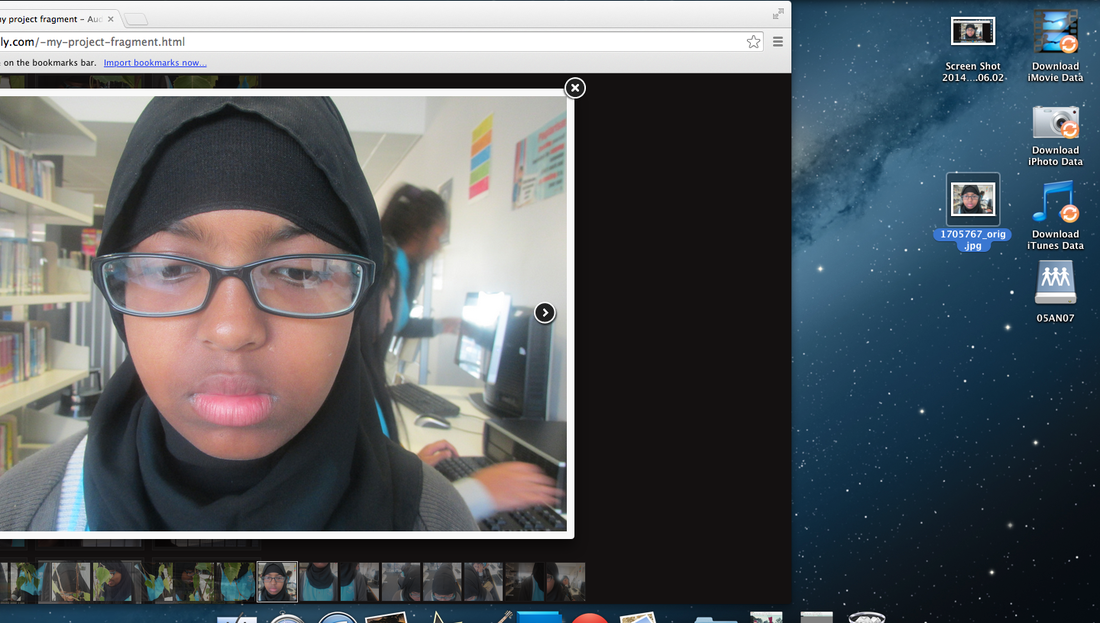
7) Then click on your photo to preview it but your might see a difference when you upload it to your website.
|
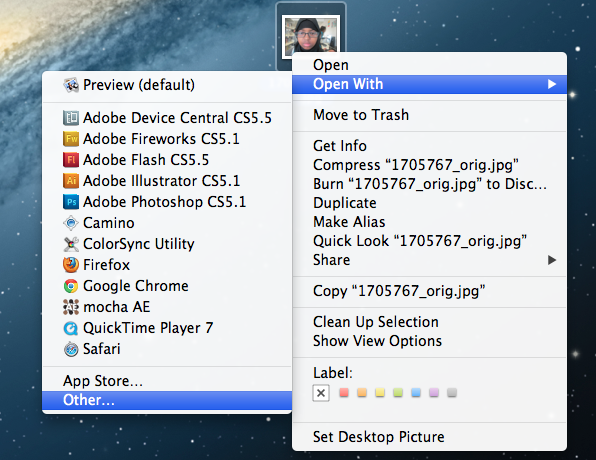
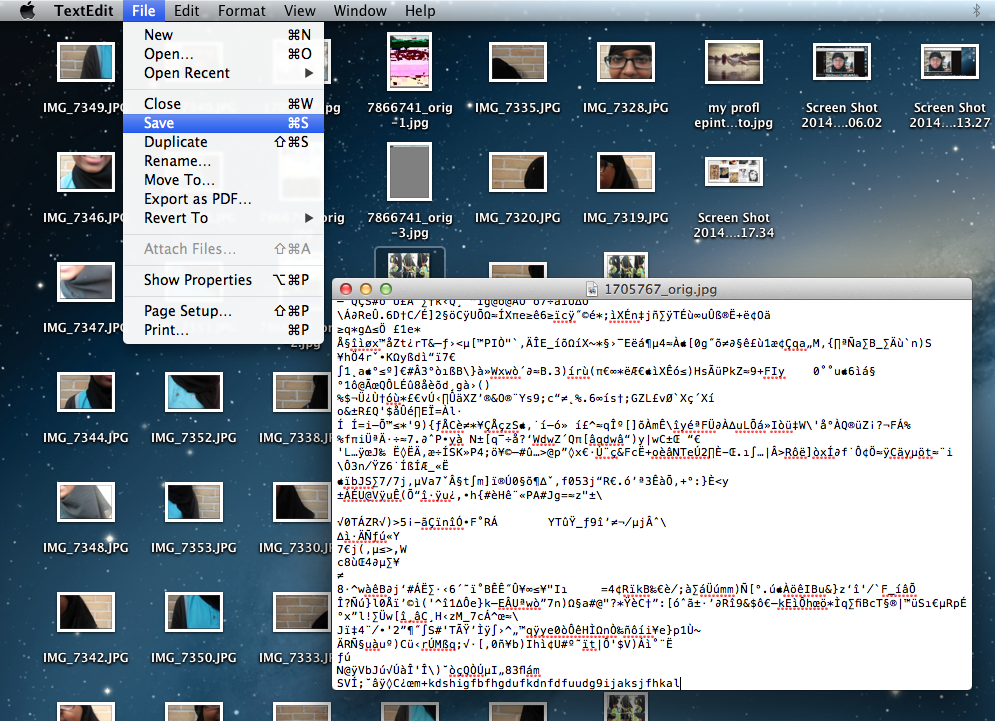
3) Select the photo click on "ctrl" then click on your mouse and go to open with and set "other..."
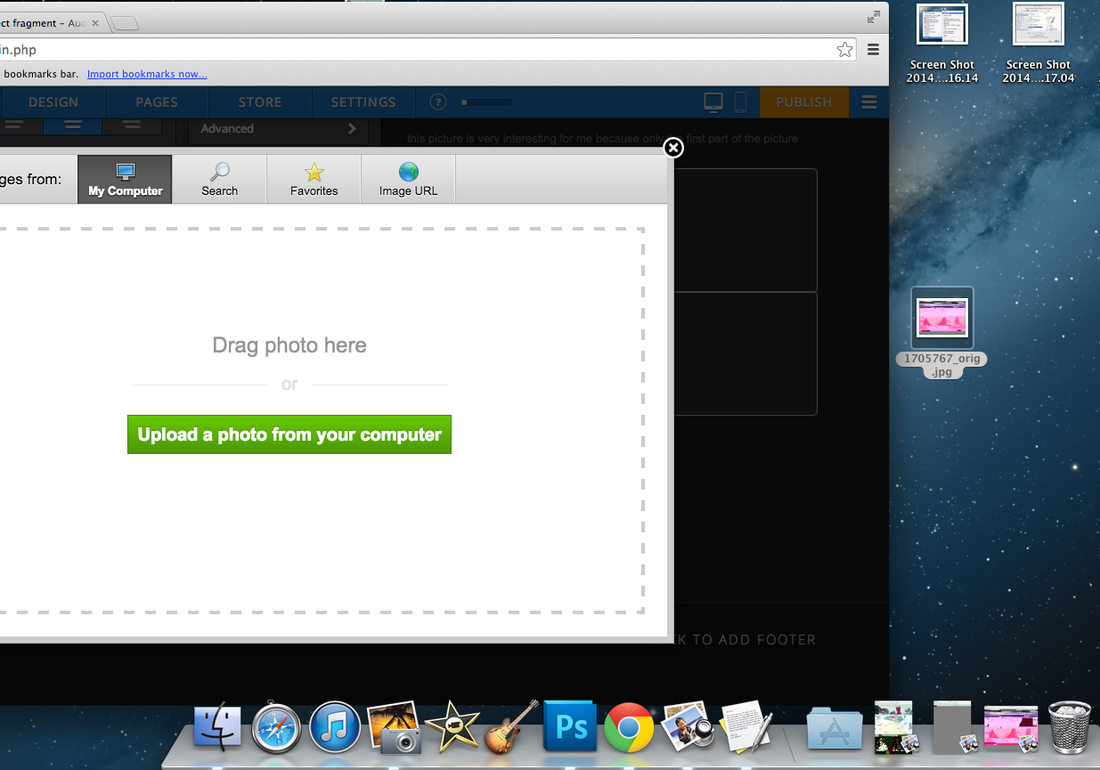
8) Then upload it to your website and your might see some changes on it if not then thats good.
|
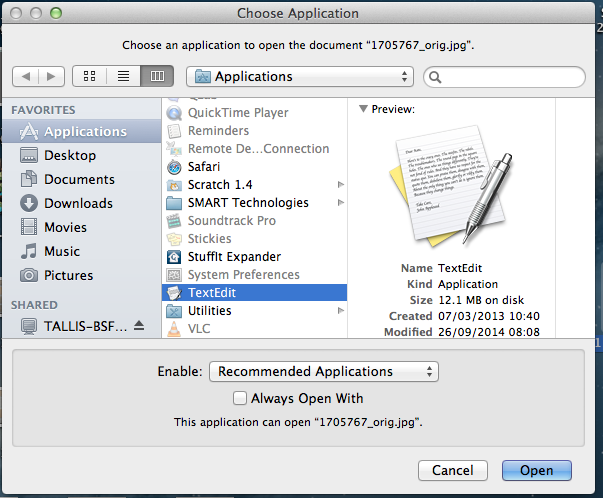
4) Your should be opened with something like this and scroll down till you see textedit.
9) Then its on your website.
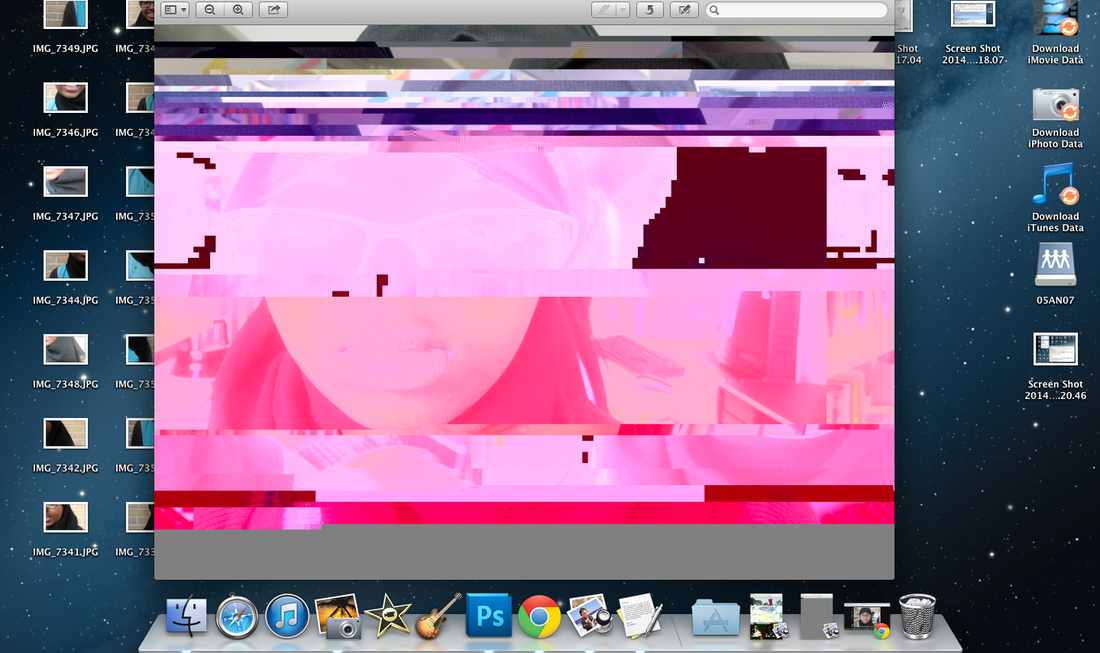
and thats how you glitch your photo. |
5) Then a weird text You should come up when your scroll down and its just for one photo then you can do any random thing to it, you can select things and past or delete a few paragraph and write random things.
|

|

|
